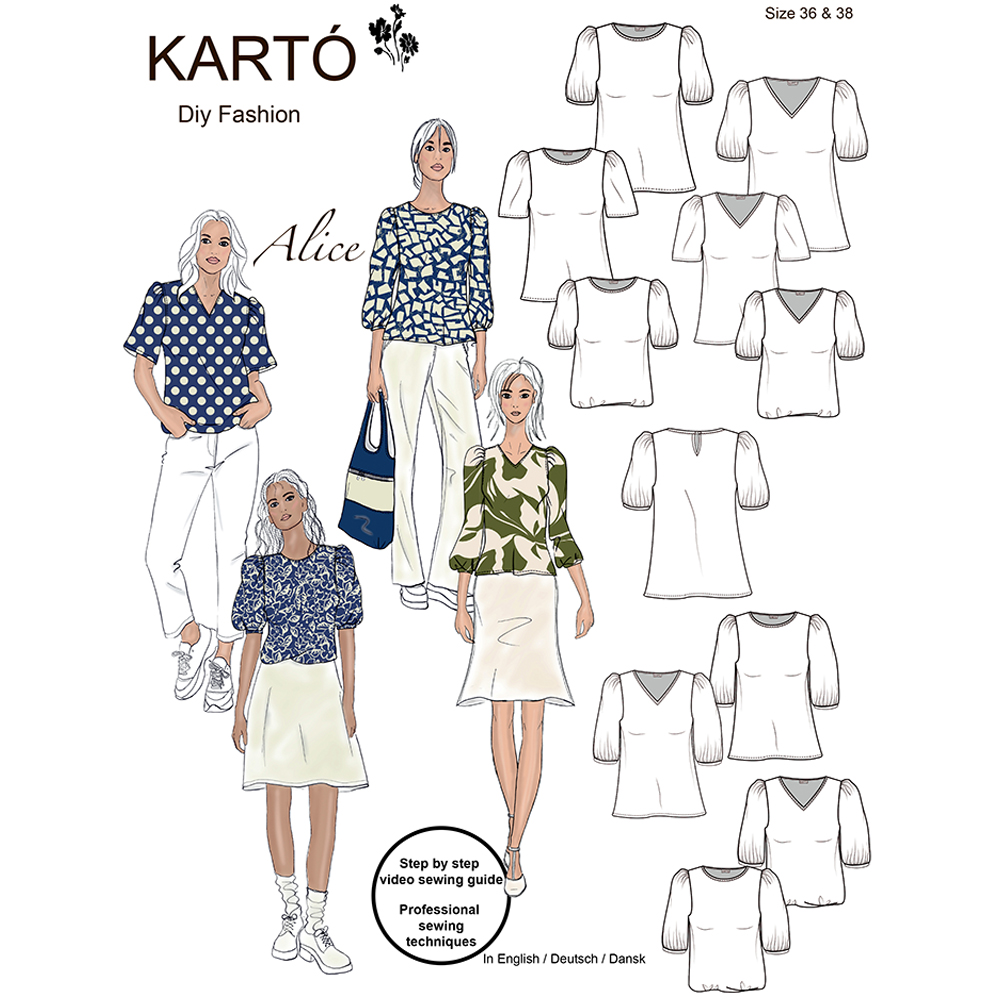
The Alice Blouse: Style It Your Way
The Alice blouse can be sewn in several ways. It has a bust ease of 9-10 cm. If you feel the blouse is too loose, it can easily be taken in for a more fitted look. The blouse features two neckline options: a round neck or a V-neck. There is also a slit detail at the back neck. The sleeves can be sewn in the length that best suits your style. Finish the sleeves with bias tape, or leave them loose around the arm. The hem can be finished with an elastic casing or a regular hem.
Questions..?
If you have any questions in the meantime, feel free to contact us at sewing@karto.dk.
1. What you need for the blouse.
Fabric requirements.
Woven fabric, 140 cm wide.
(Size 34 - 44: 2 meters)
(Size 46 - 54: 2.15 meters)
1 small button
3 cm wide elastic
Bias tape cut from the fabric
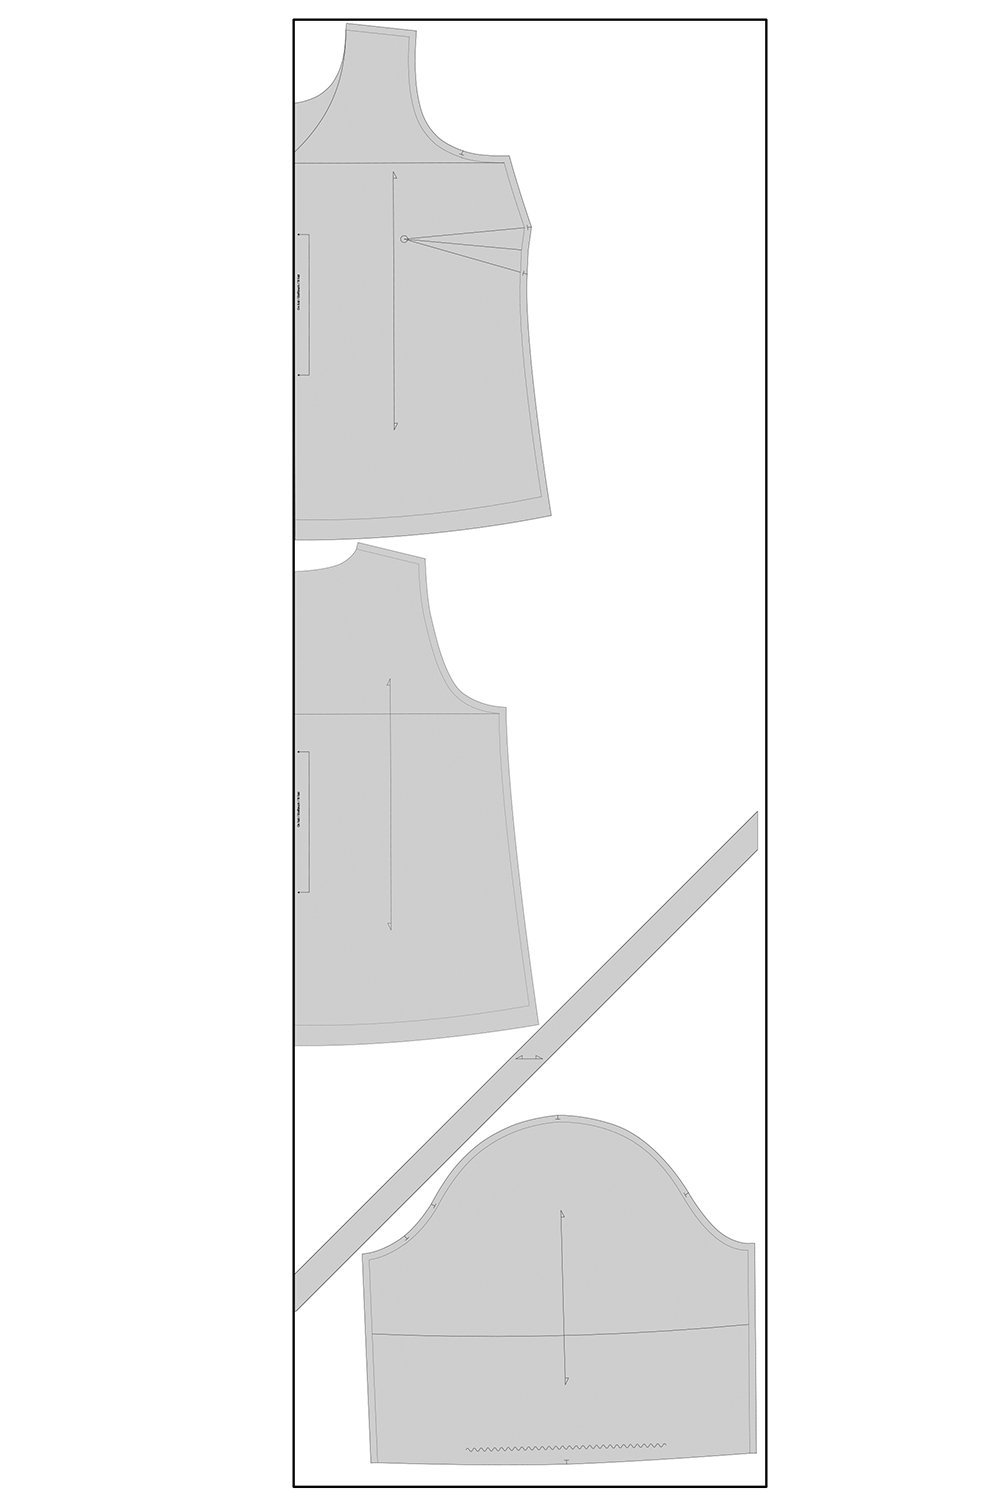
2. Pattern with seam allowance
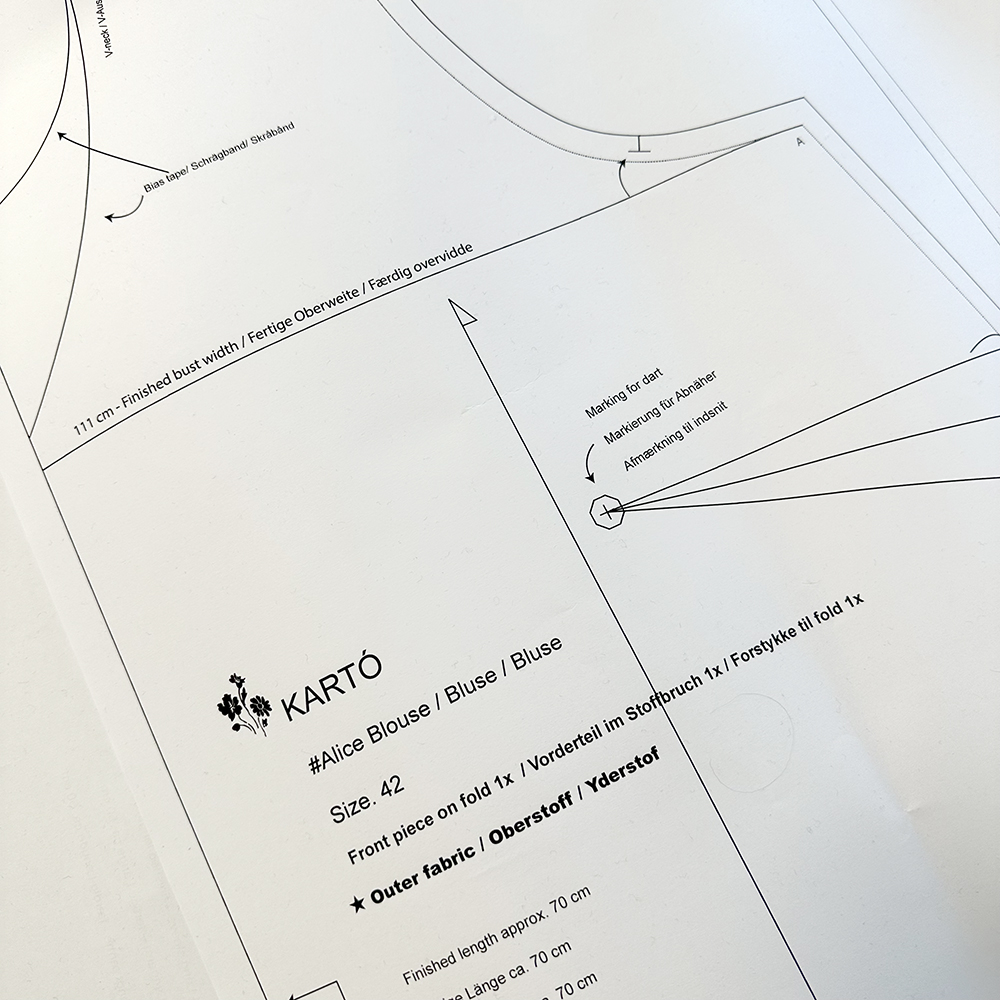
Seam allowance
Your pattern includes a 1 cm seam allowance.
There is no seam allowance at the neckline and at the lower edge of the sleeve.
Thread direction is important
The arrow on the pattern piece should always be parallel to the fabric edge to ensure the pattern piece is placed correctly on the fabric.
Notches / Markings
Remember to cut the small notches marked on the pattern pieces. The markings help ensure the individual pattern pieces align correctly when sewing them together.
Stitch length
I use a stitch length of 2.5 (9 stitches per 2 cm) to sew the jacket together.
For decorative stitching, a stitch length of 3 is recommended.
Choose the stitch length that best suits your fabric and machine.
Symbols
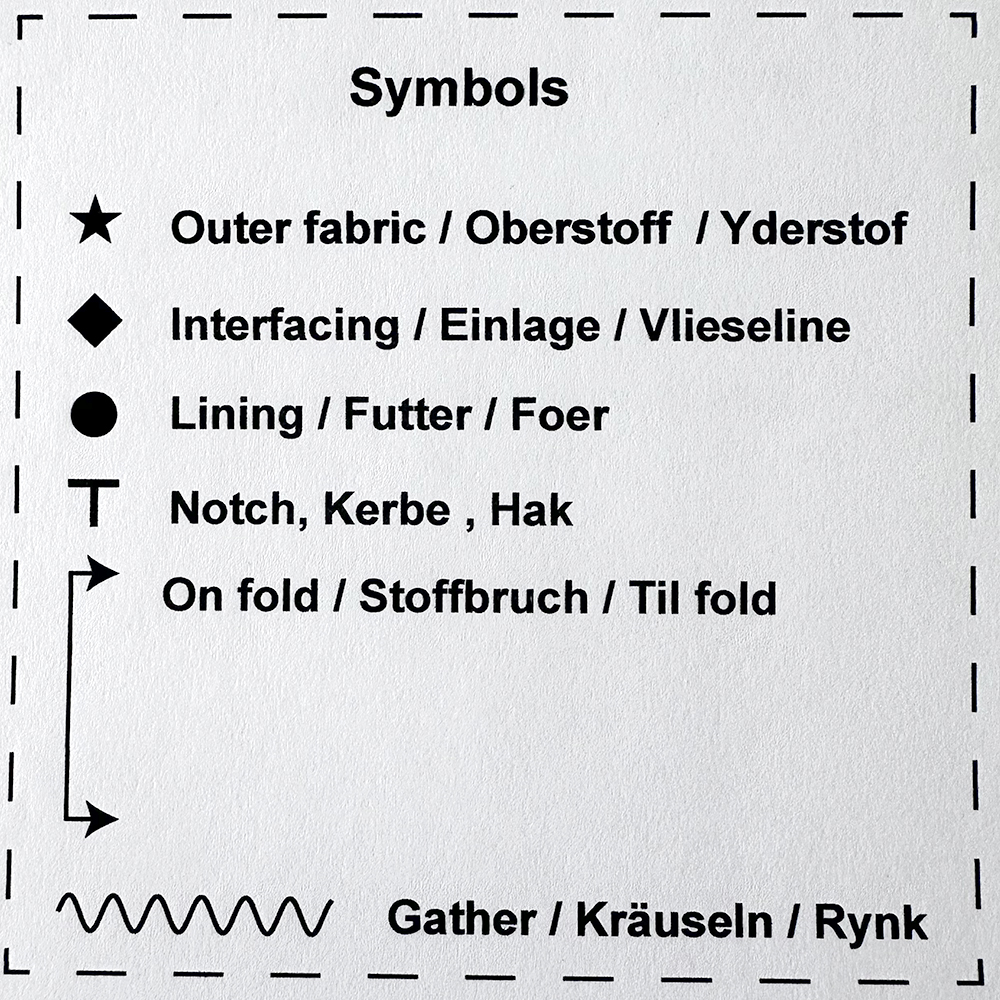
Symbols in the Pattern
This pattern uses different symbols to clearly indicate which pieces should be cut from fabric, lining, and interfacing.
There is also a symbol that marks pattern pieces to be placed on the fold of the fabric, as well as notches that help align the pieces correctly.
Follow these symbols carefully for the best results.
3. Cutting layout
Cutting layout
-
Front piece on fold 1x
-
Back piece on fold 1x
-
Sleeve 2x
-
Bias tape 2x
Sewing tip for bias tape:
When sewing with heavier fabrics, it is a good idea to cut the bias tape 5 cm wide. It makes the sewing process easier.
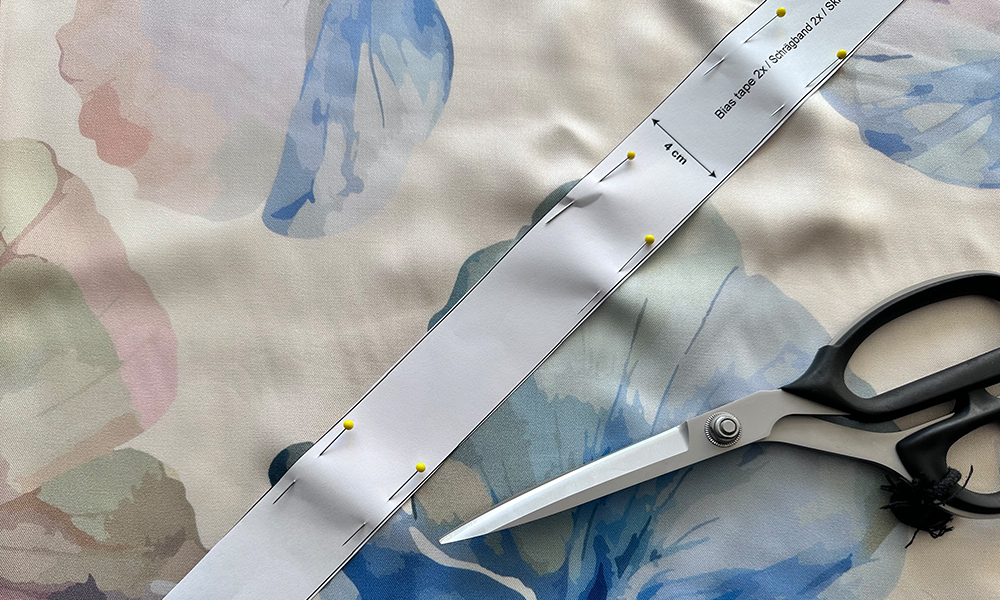
Secure the pattern properly to the fabric before cutting. Remember to pay attention to the grainline
That’s why we sew topstitching…
Topstitching has both a practical and a visual function.
It keeps the seam allowance in place and gives a neat, professional finish.
At the same time, it helps shape the design expression – you can choose thread colour and placement depending on the look you want. Sew close to the edge for a discreet finish or with a little distance for a more striking effect.
4. Sew the bust dart
5. Neck slit detail
6. Sew the shoulder seam
7. Sew the puff sleeves
8. Sew the side seam
Adjust the fit before topstitching the side and sleeve seams.
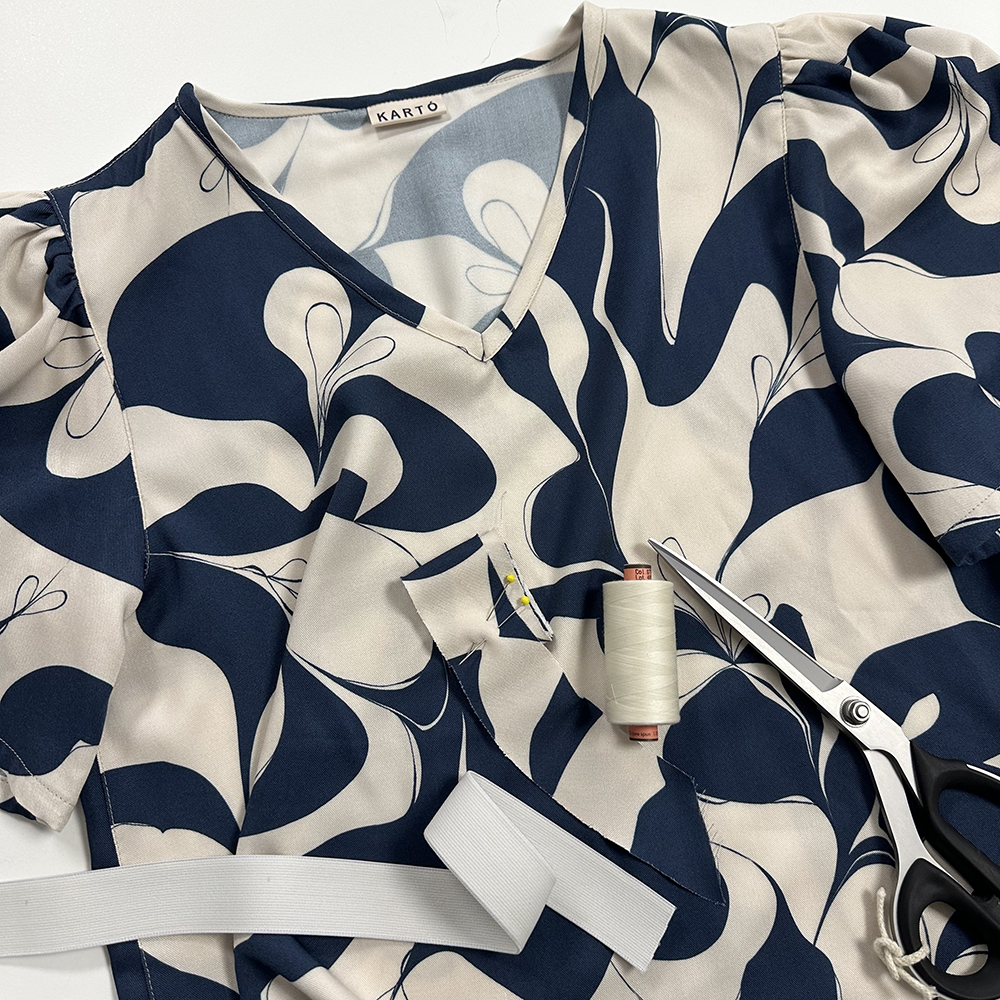
9. Button loop for the slit detail
Try on the blouse and adjust the neckline before attaching the bias tape.
10A. Bias tape on the round neckline
10B. Bias tape on V-neckline
11. Sleeve finishing - Short or long sleeve.
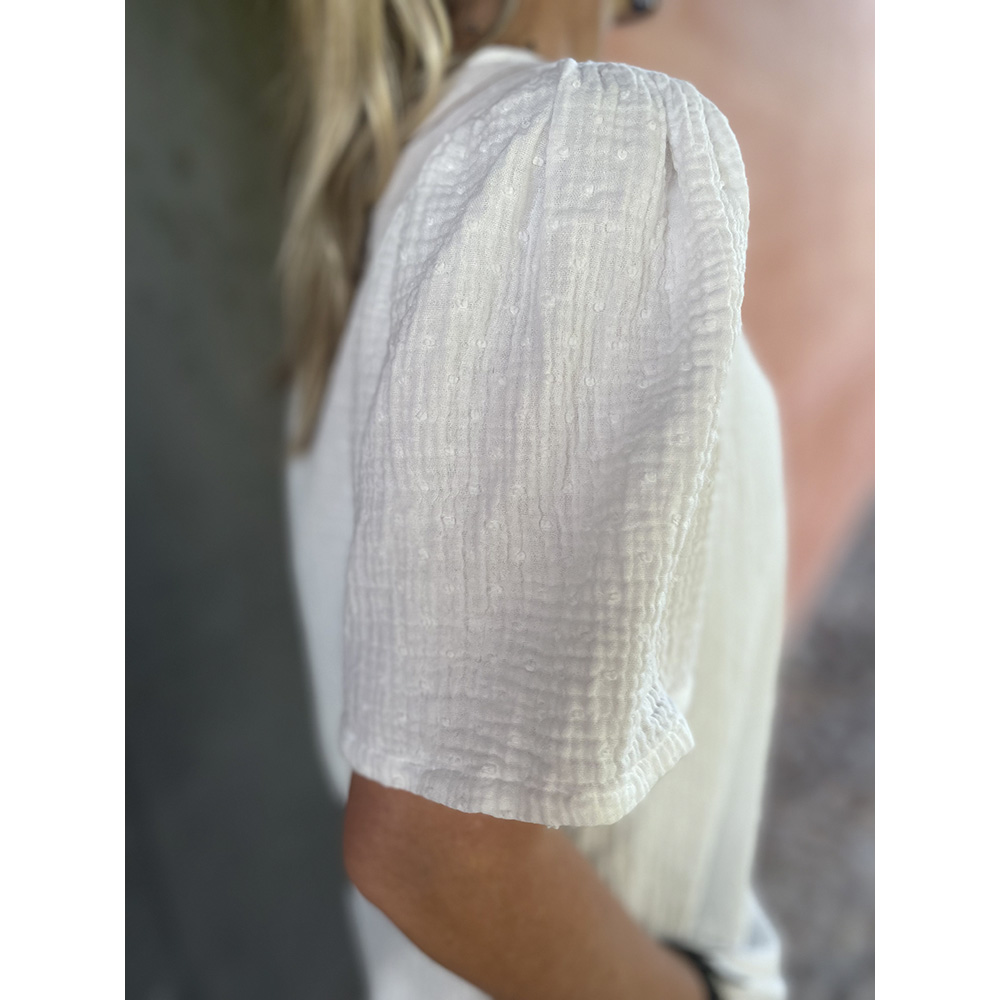
Loose sleeve.

Sleeve finished with bias tape
12A. Hem with 3 cm wide elastic casing
12B. Hemming of the blouse.