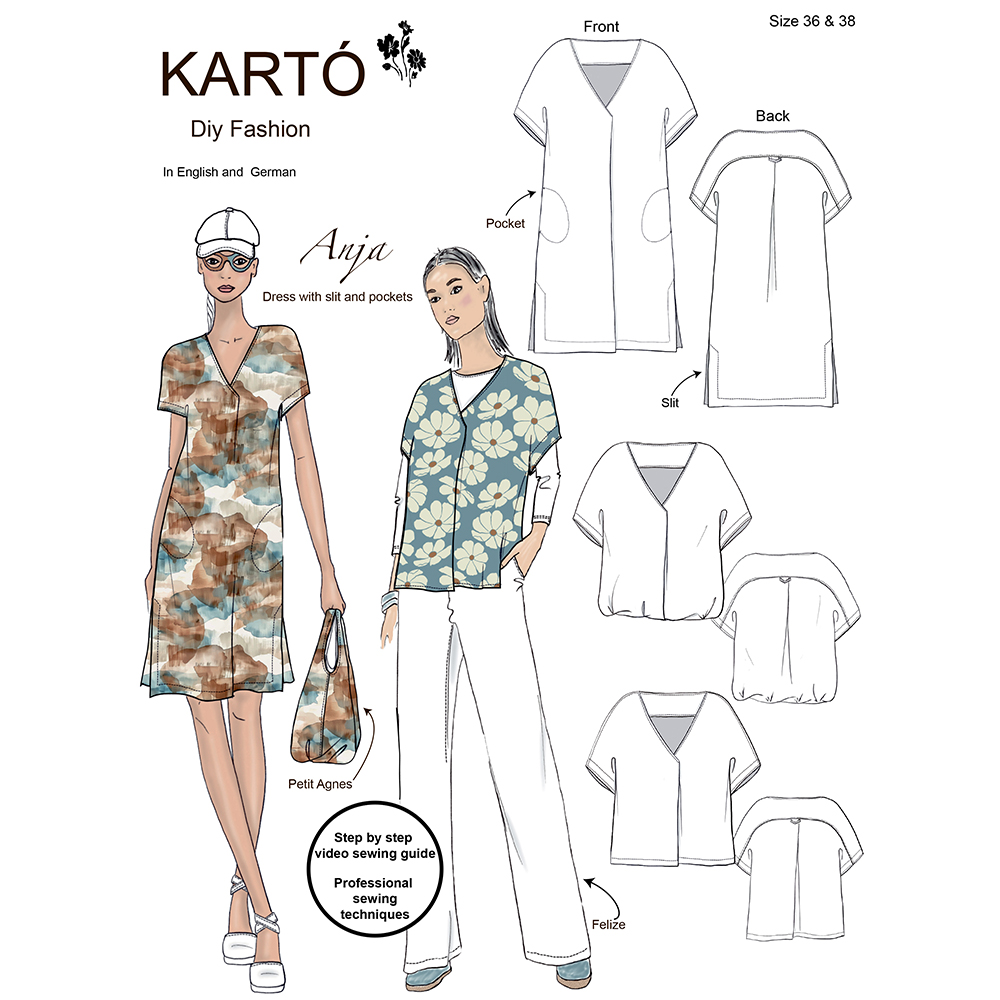
Anja Dress – A Smart and Versatile Dress
The Anja dress is designed with a loose fit, providing a comfortable and relaxed silhouette. It features an elegant V-neckline, side seam pockets, and stylish side slits.
Also as a blouse...
You can also sew Anja as a blouse with two different hem finishing options.
Click here to see how to sew the Anja blouse..
Access Your Video Sewing Tutorial
You will need a password to access your video sewing tutorial.
Your password is printed on the sewing pattern and is unique to you.
If you need assistance, feel free to contact us at sewing@karto.dk.
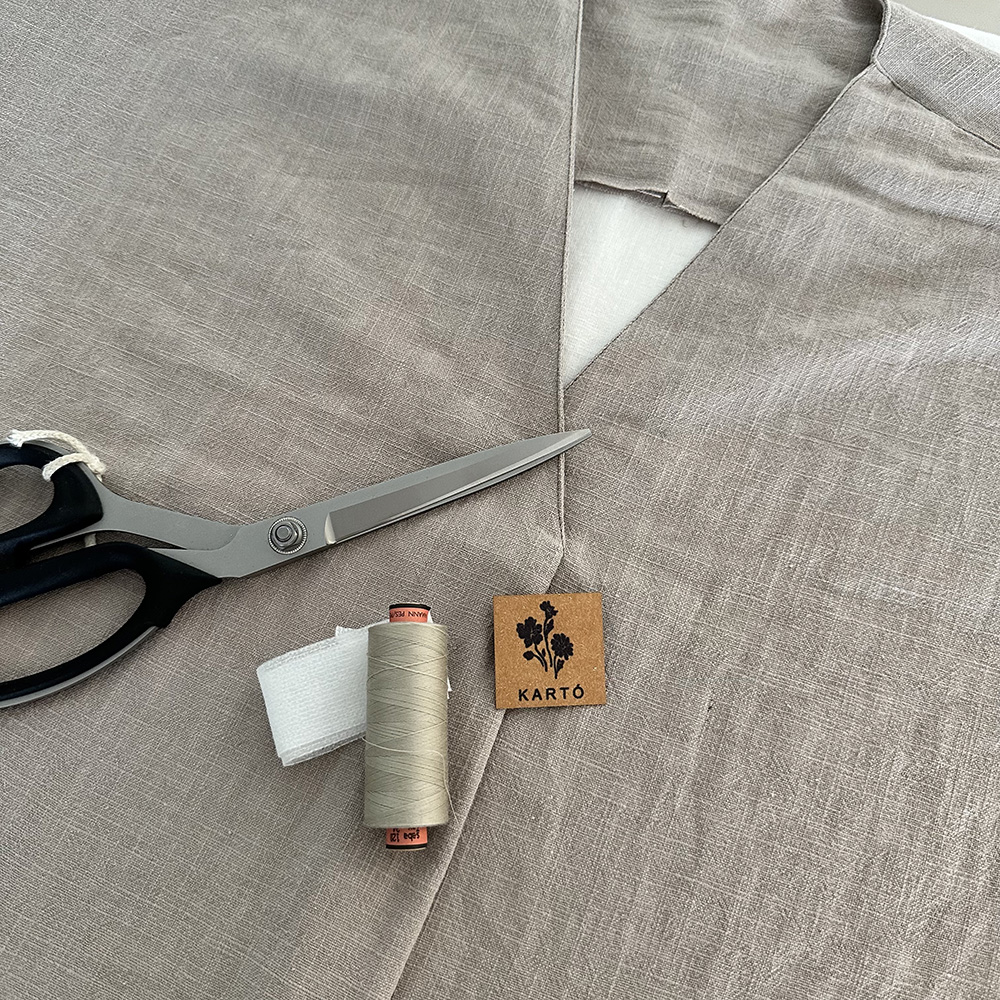
1. What you need for the dress.
Finished dress length is approx. 100 cm
The dress is designed for a finished length of approx. 100 cm. If you want a different length, you will need to adjust the fabric consumption.
Fabric requirements:
- 2.40 meters of woven fabric, 140 cm wide. Remember to account for shrinkage when washing.
- Interfacing for the facing, slit, back neckline, and armholes.
- We recommend soft fusible interfacing H410.
Introduction
The dress is designed with a loose fit, featuring an ease allowance of approximately 35 cm around the bust and 30 cm around the hips.
2. Pattern with seam allowance
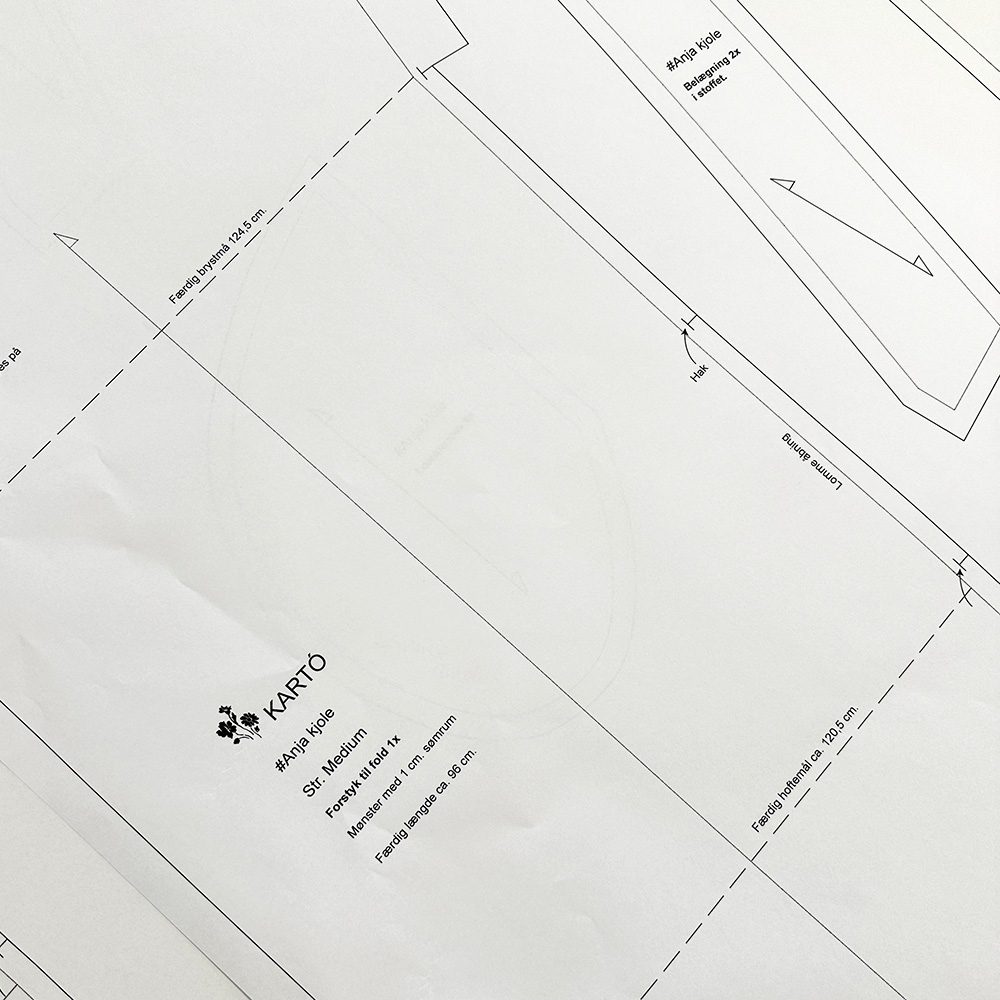
Seam allowance
Your pattern includes a 1 cm seam allowance.
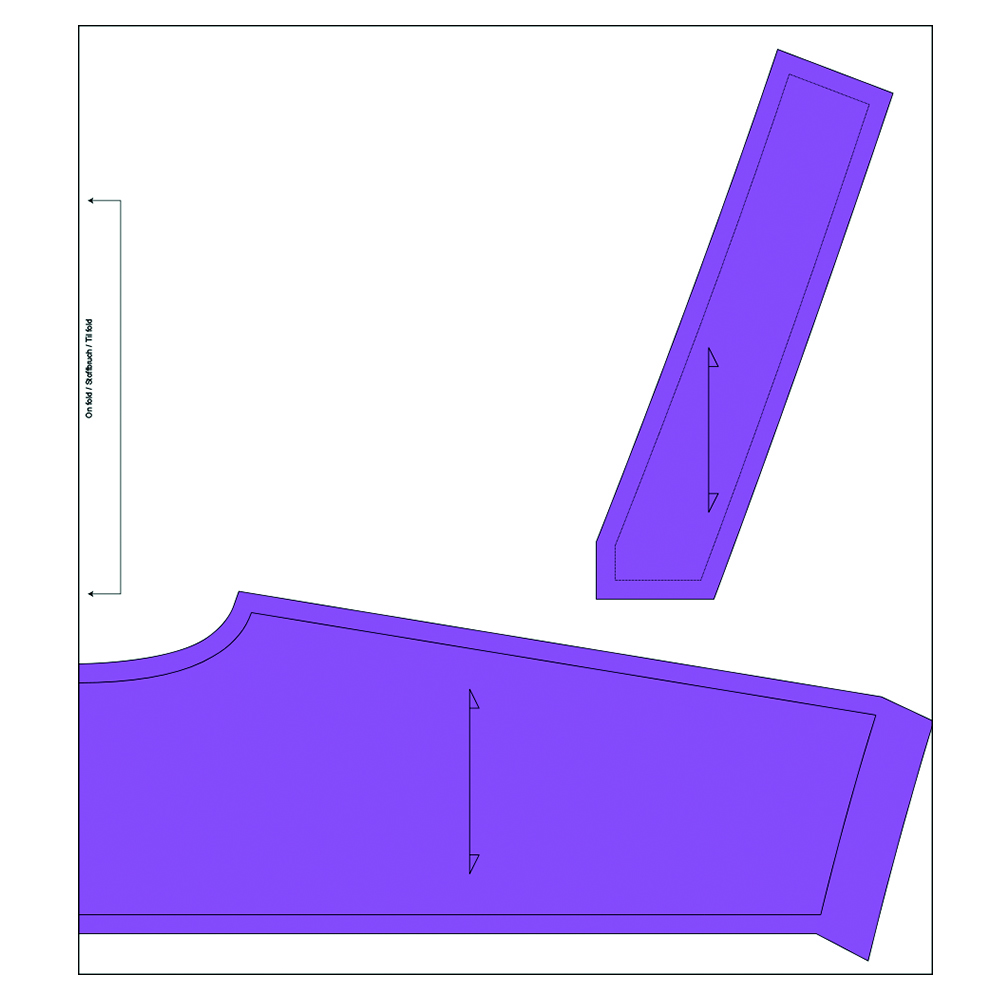
Thread direction is important
The arrow on the pattern piece should always be parallel to the fabric edge to ensure the pattern piece is placed correctly on the fabric.
Notches / Markings
Remember to cut the small notches marked on the pattern pieces. The markings help ensure the individual pattern pieces align correctly when sewing them together.
Stitch length
I use a stitch length of 2.5 (9 stitches per 2 cm) to sew the jacket together.
For decorative stitching, a stitch length of 3 is recommended.
Choose the stitch length that best suits your fabric and machine.
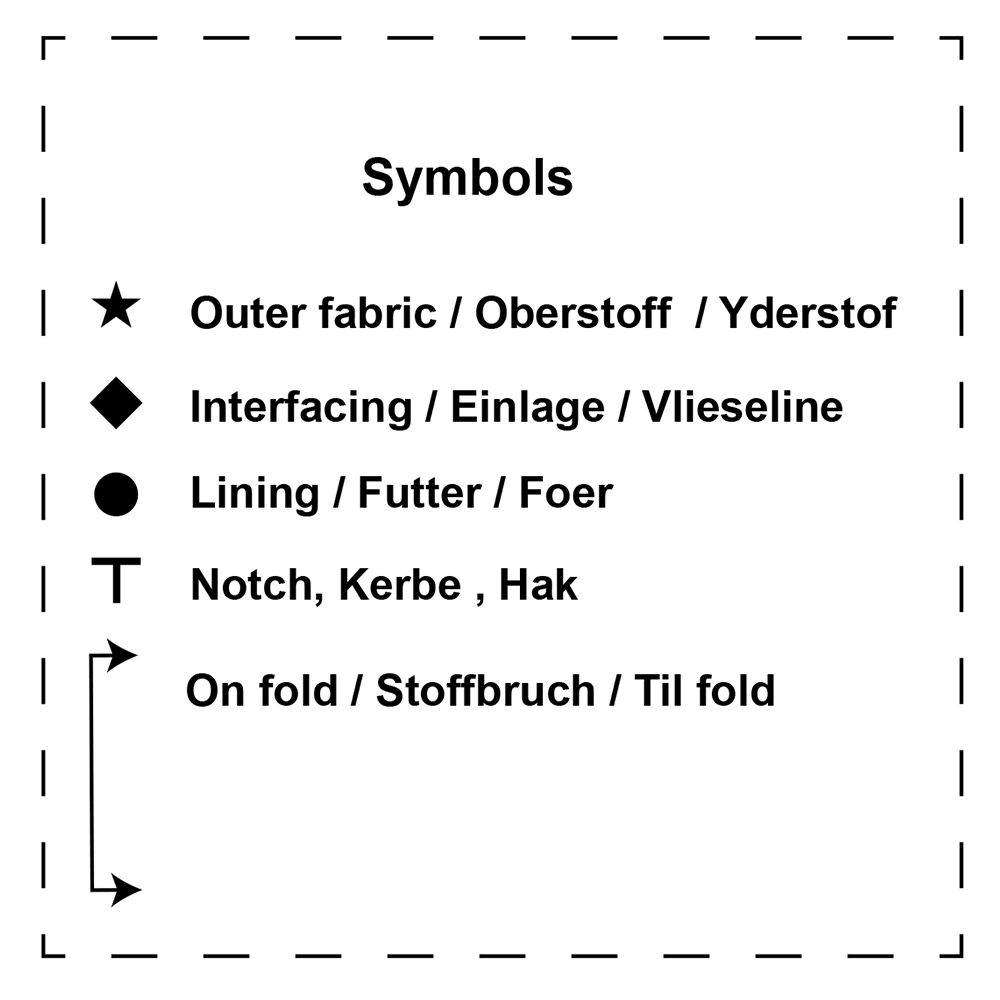
Symbols in the Pattern
This pattern uses different symbols to clearly indicate which pieces should be cut from fabric, lining, and interfacing.
There is also a symbol that marks pattern pieces to be placed on the fold of the fabric, as well as notches that help align the pieces correctly.
Follow these symbols carefully for the best results.
3. Cutting Layout
- Front piece on fold 1x
- Back piece on fold 1x
- Yoke on fold 2x
- Facing 2x
- Pocket bag 4x
- Loop 1x
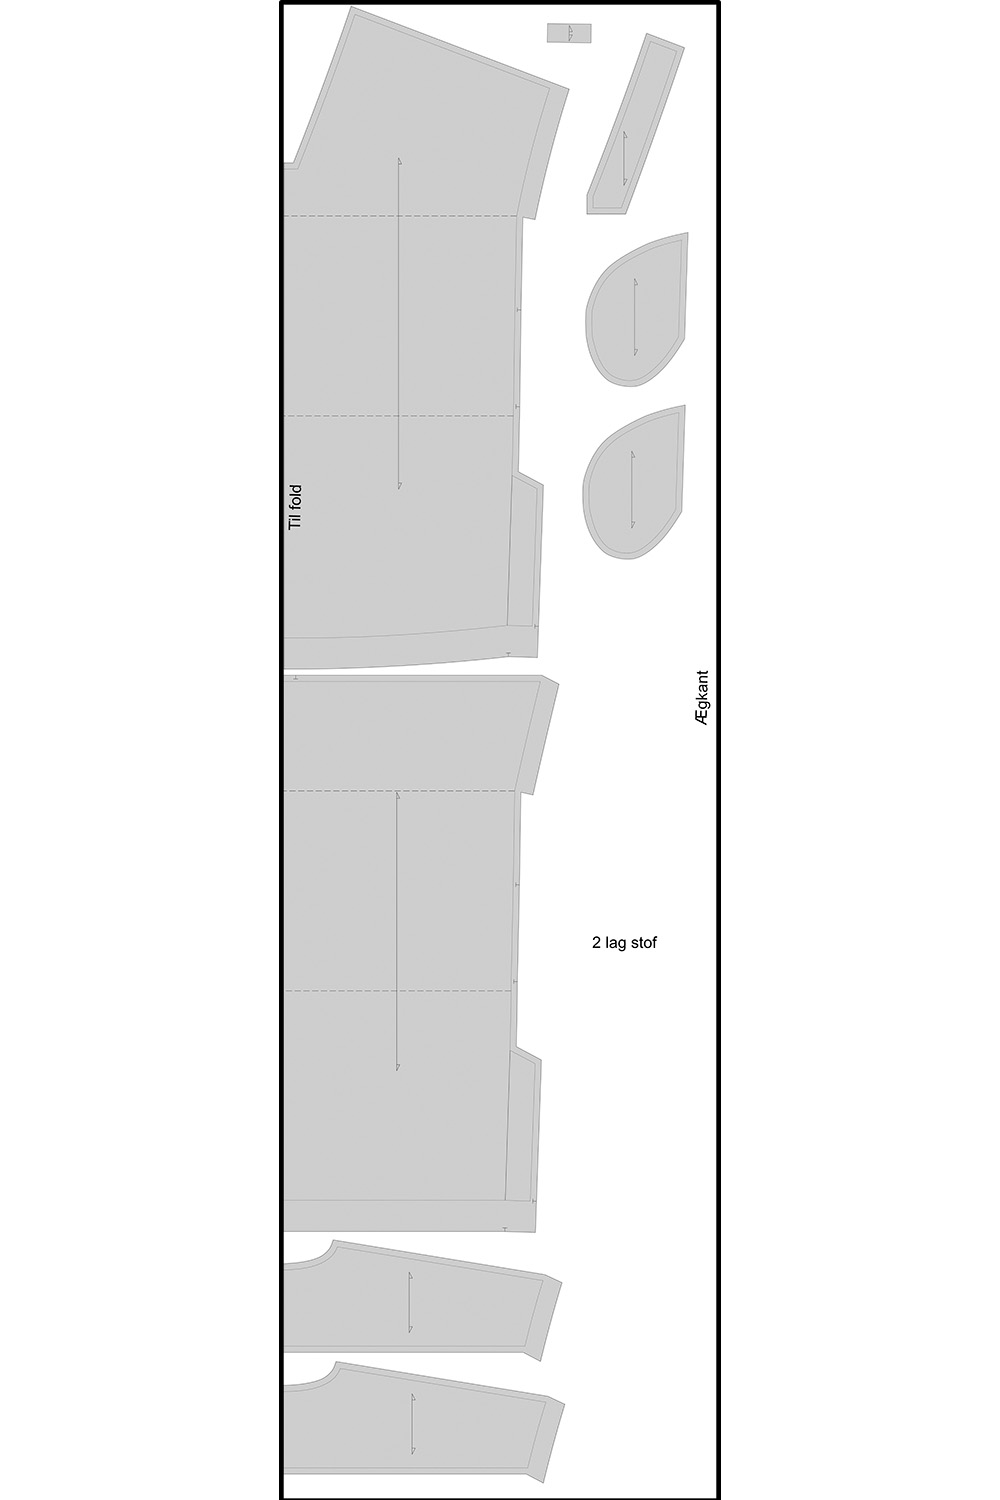
Cutting Layout – Interfacing
- Facing 2x
- Yoke on fold 1x
4. Sew the neckline
5. How to Sew the Yoke
If you are sewing the dress in a lightweight fabric, it can be beneficial to apply soft fusible interfacing to the entire yoke. When I sew the dress in viscose, I apply interfacing to one entire yoke piece.
6. Sew a small loop
7. Sew the pleat on the back piece
8. Sew the yoke to the back piece
9. After overlocking the side seams, you can baste them together to try on the dress and make any necessary adjustments.
10. Sew the pockets into the side seam
11. Side seams and hemming the dress