
Sew your own Anna Dress – feminine and versatile!
The Anna Dress features a gently shaped waist and a soft A-line silhouette that flatters many body types. It’s designed with puff sleeves and bust darts, and you can choose between a round or V-neckline, as well as short or ¾-length sleeves.
Want to add a little extra? Make it with a back slit or tie it at the waist with a belt.
Style it your way – the Anna Dress is a modern, adaptable piece you can truly make your own.
If you have any questions in the meantime, feel free to contact us at sewing@karto.dk.
1. What you need for the dress.

The pattern is designed for woven fabric. Fabric consumption depends on how you want the dress to look, including sleeve length and dress length. The pattern is designed with a finished length of 105-110 cm. A small button is required for the slit at the back neck. For the hem, use fusible tape along the bottom edge. In the neckline and to finish the sleeves, use bias tape cut from the fabric.
2. Pattern with seam allowance
Seam allowance
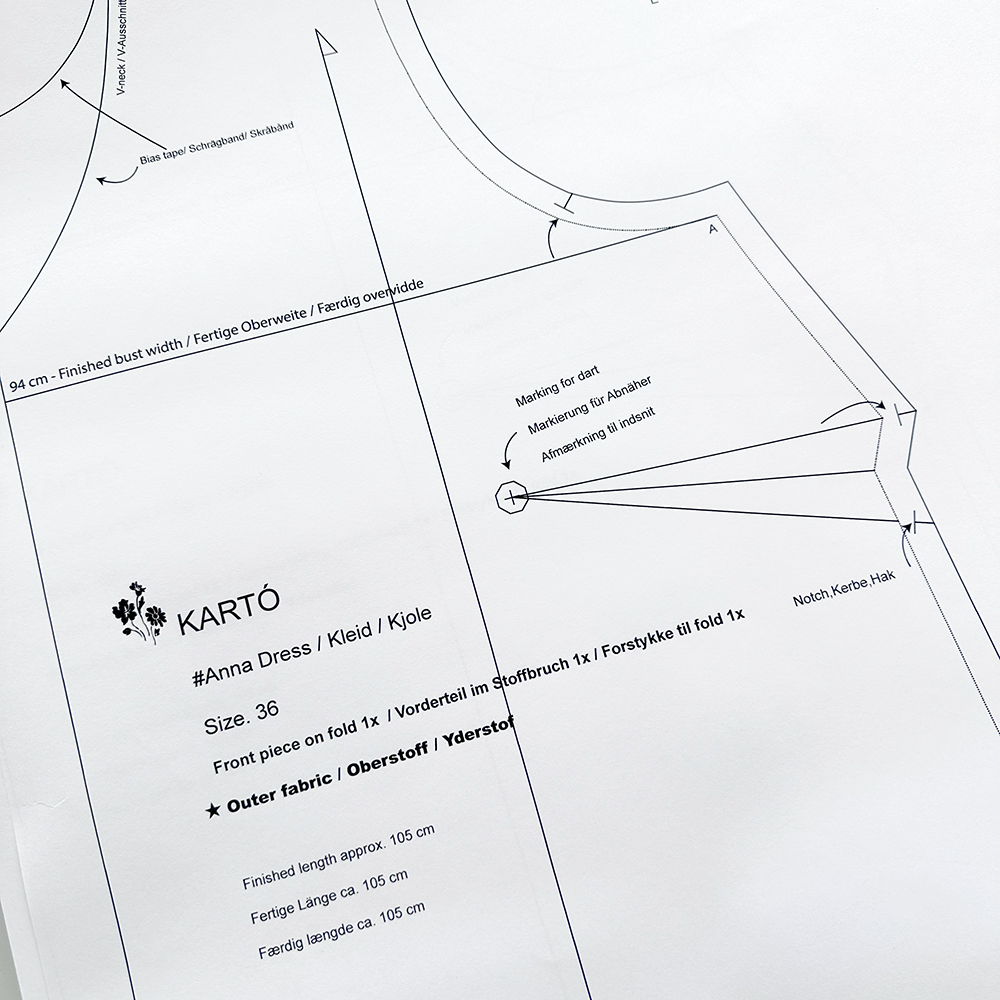
Your pattern includes a 1 cm seam allowance. 3 cm seam allowance for the hem.
There is no seam allowance at the neckline and at the lower edge of the sleeve.
Thread direction is important
The arrow on the pattern piece should always be parallel to the fabric edge to ensure the pattern piece is placed correctly on the fabric.
Notches / Markings
Remember to cut the small notches marked on the pattern pieces. The markings help ensure the individual pattern pieces align correctly when sewing them together.
Stitch length
I use a stitch length of 2.5 (9 stitches per 2 cm) to sew the jacket together.
For decorative stitching, a stitch length of 3 is recommended.
Choose the stitch length that best suits your fabric and machine.
Symbols in the Pattern
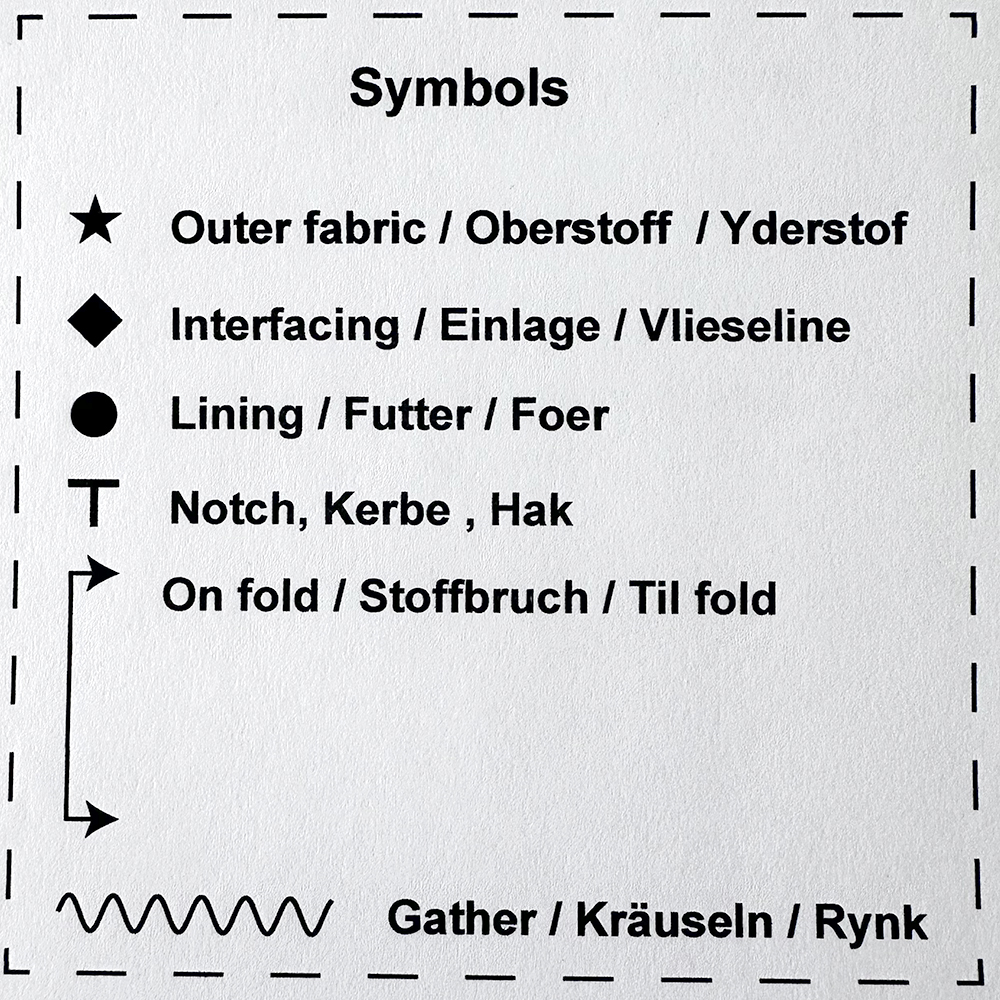
Symbols in the Pattern
This pattern uses different symbols to clearly indicate which pieces should be cut from fabric, lining, and interfacing.
There is also a symbol that marks pattern pieces to be placed on the fold of the fabric, as well as notches that help align the pieces correctly.
Follow these symbols carefully for the best results.
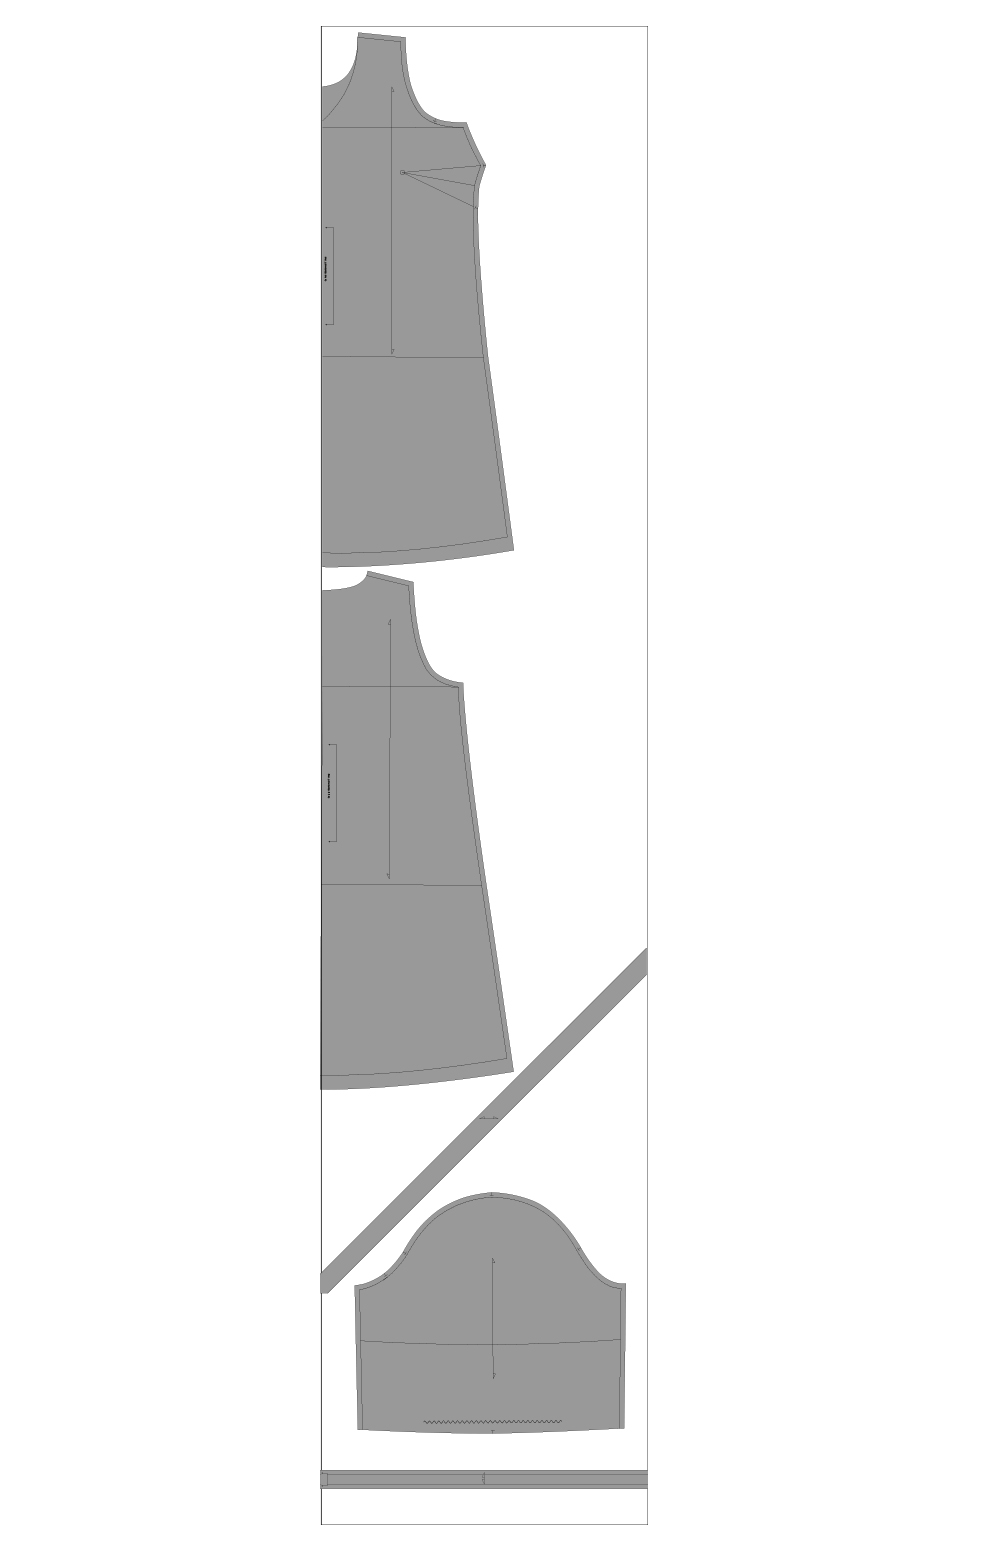
3. Cutting layout
Cutting layout
-
Front piece on fold 1x
-
Back piece on fold 1x
-
Sleeve 2x
-
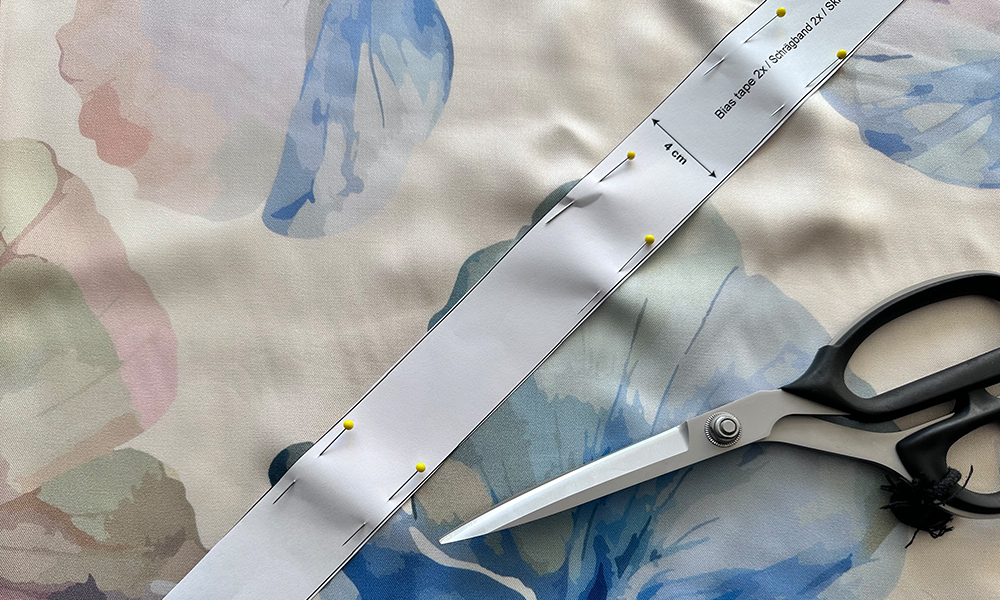
Bias tape 2x
-
Tie belt on fold 1x
Sewing tip for bias tape:
When sewing with heavier fabrics, it is a good idea to cut the bias tape 5 cm wide. It makes the sewing process easier.
It is important to cut the bias tape at a 45-degree angle so it can shape properly around the neckline.
Secure the pattern firmly to the fabric before cutting. Remember to pay attention to the grainline.
4. Sew the bust dart
5. Neck slit detail
6. Sew the shoulder seam
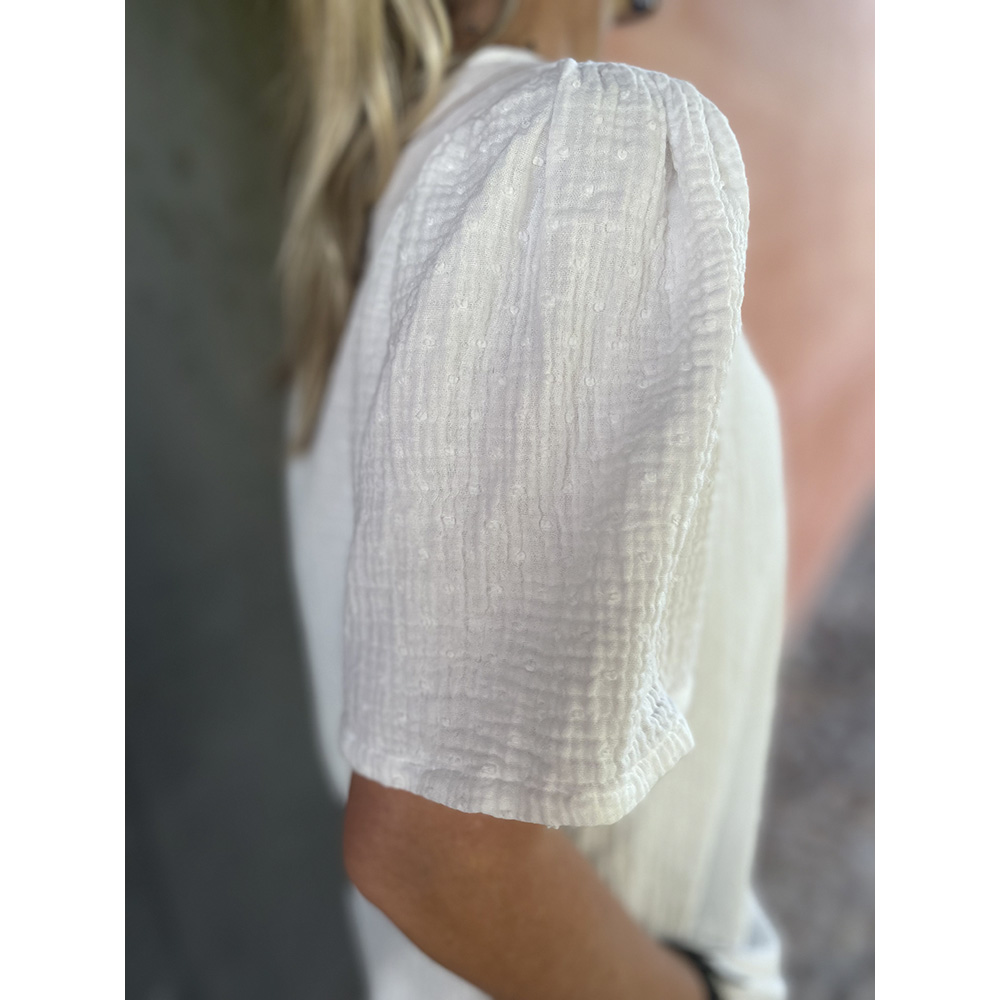
7. Sew the puff sleeves
8. Sew the side seam
Adjust the fit before topstitching the side and sleeve seams.
9. Button loop for the slit detail
Try on the dress and adjust the neckline before attaching the bias tape.
10. Bias tape on the round neckline
10B. Bias tape on the V-neckline
11. Sleeve finishing - Short or long sleeve.

Sleeve finished with bias tape
Loose sleeve.
12. Hemming of the dress
13. Belt
Cut the belt in your desired length and 4 cm wide.
-
Fold each long side 1 cm towards the center and press well.
-
Then fold the belt in half, so it now measures 1 cm in finished width, and press again.
-
Topstitch close to the edge along both long sides to keep everything in place.
-
Create a neat finish at each end of the belt by folding the fabric in ½ cm, and then folding it in another ½ cm.
Press and stitch the ends in place with an edge stitch.