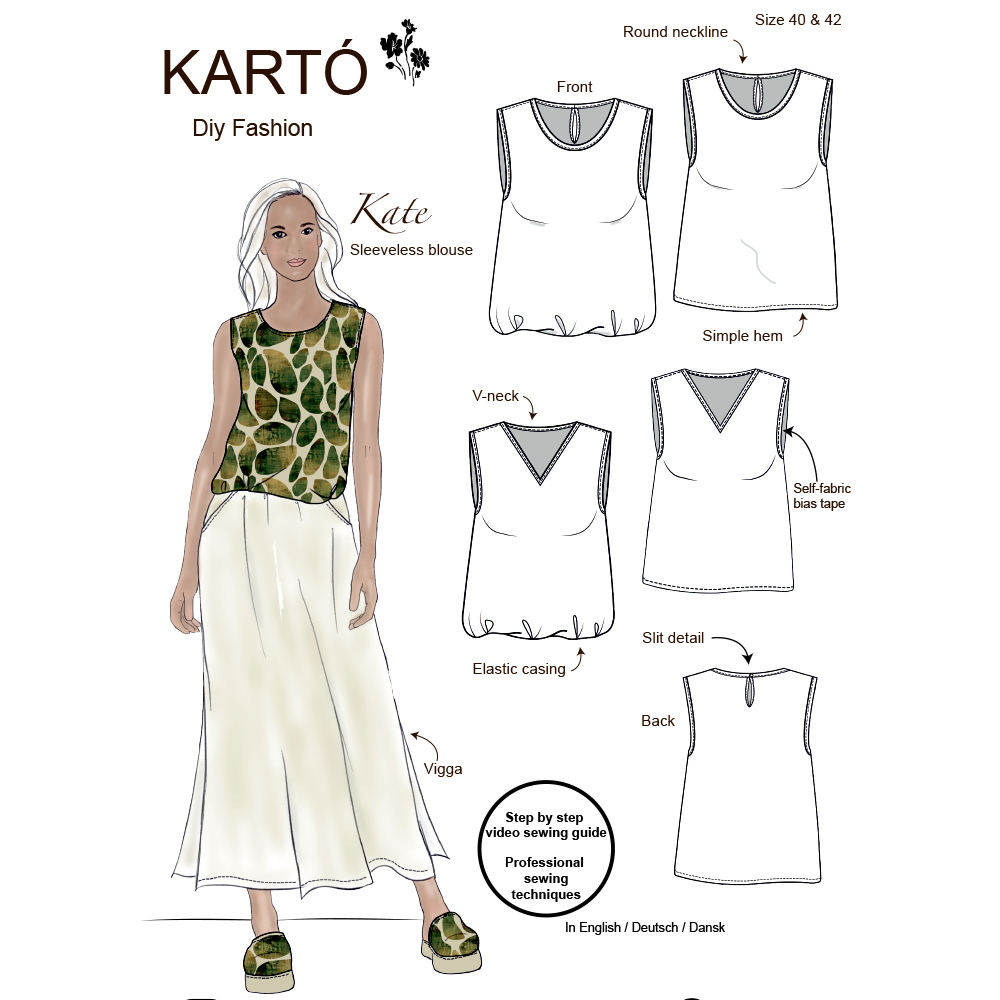
The Kate Top: A Versatile Piece for Summer and Work
The Kate top is the perfect sleeveless piece that can be styled as a breezy summer top or worn under a jacket for work. It features 9-10 cm of bust ease, and if you prefer a more fitted look, it can easily be taken in. The Kate top can be sewn in various fabrics, allowing you to choose a festive version for summer events or a smart, everyday version for work. With two neckline options – round neck or V-neck – and a slit detail at the back, it can be customized for any occasion. Finish the hem with an elastic casing for a relaxed look, or opt for a classic hem for a more polished finish.
Access to Your Video Sewing Tutorial
You need a password to access your video sewing tutorial.
Your password is on the pattern and is unique to you.
If you need assistance, feel free to contact us at sewing@karto.dk.
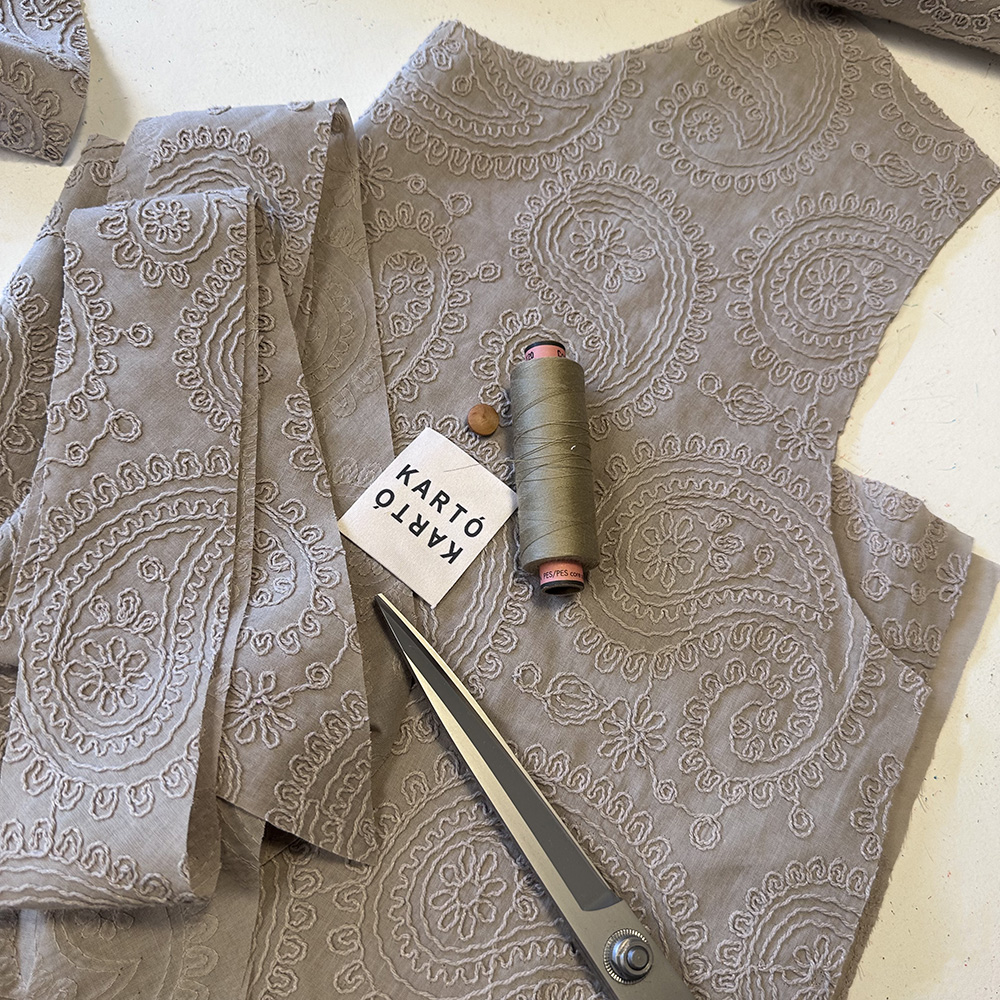
1. These materials are used for the top.
Fabric requirements.
Woven fabric, 140 cm wide.
(Size 34 - 40: 1.25 meters)
(Size 42 - 52: 1.60 meters)
1 small button
3 cm wide elastic
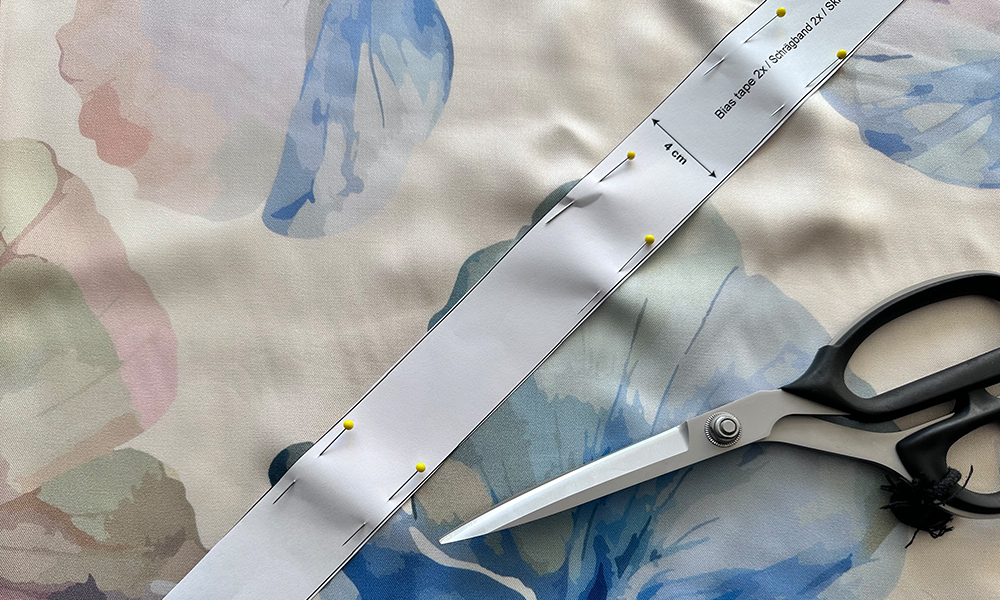
Bias tape cut from the fabric
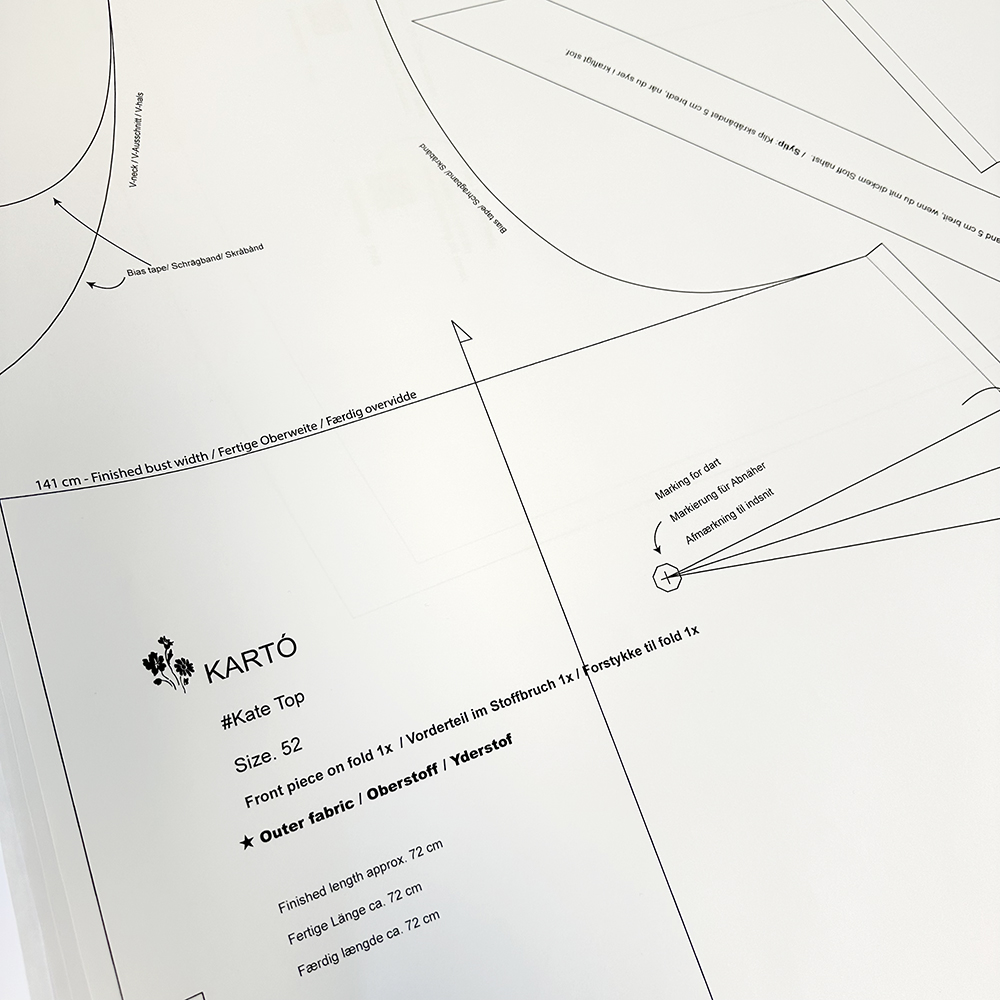
2. Pattern with seam allowance
Seam allowance
Your pattern includes a 1 cm seam allowance. There is no seam allowance at the neckline and armhole. 3 cm seam allowance for the hem.
Thread direction is important
The arrow on the pattern piece should always be parallel to the fabric edge to ensure the pattern piece is placed correctly on the fabric.
Notches / Markings
Remember to cut the small notches marked on the pattern pieces. The markings help ensure the individual pattern pieces align correctly when sewing them together.
Stitch length
I use a stitch length of 2.5 (9 stitches per 2 cm) to sew the jacket together.
For decorative stitching, a stitch length of 3 is recommended.
Choose the stitch length that best suits your fabric and machine.
Symbols in the Pattern
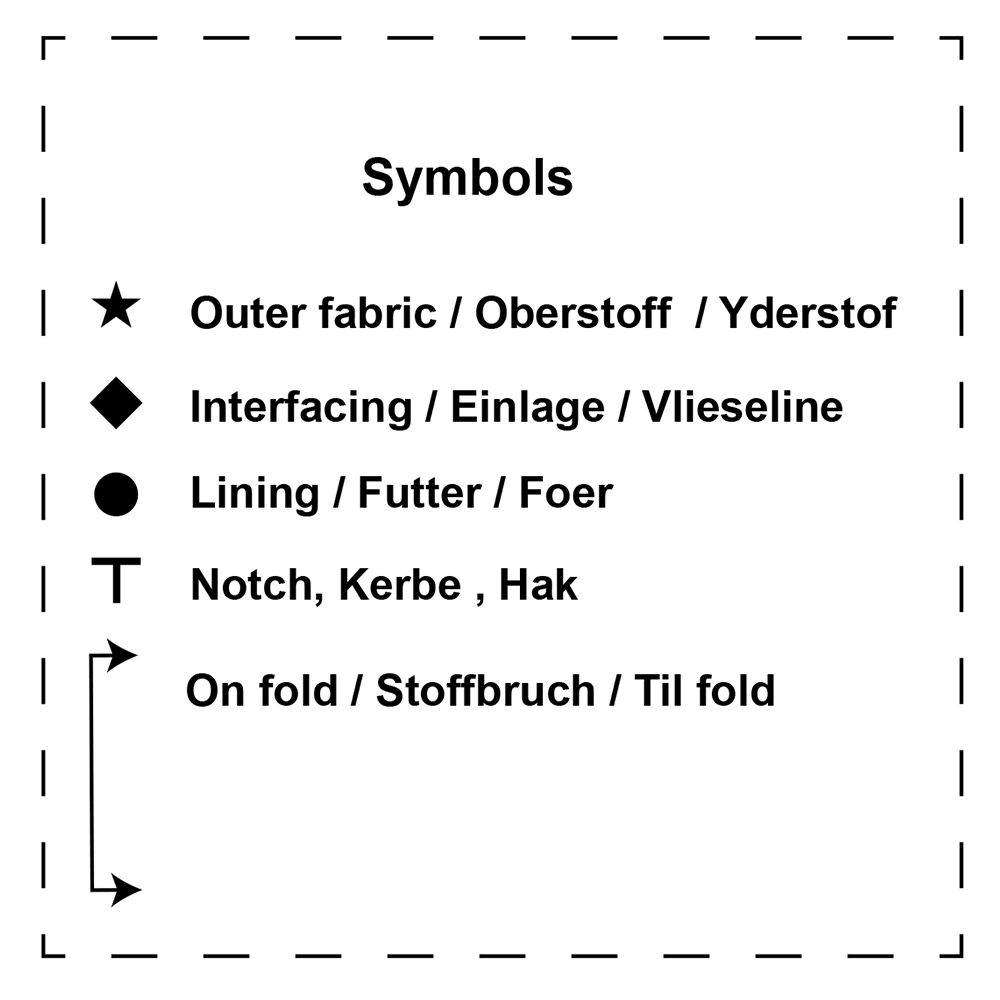
Symbols in the Pattern
This pattern uses different symbols to clearly indicate which pieces should be cut from fabric, lining, and interfacing.
There is also a symbol that marks pattern pieces to be placed on the fold of the fabric, as well as notches that help align the pieces correctly.
Follow these symbols carefully for the best results.
3. Cutting layout
-
Front piece on fold 1x
-
Back piece on fold 1x
-
Bias tape 3x
Cutting plan sizes 34-40
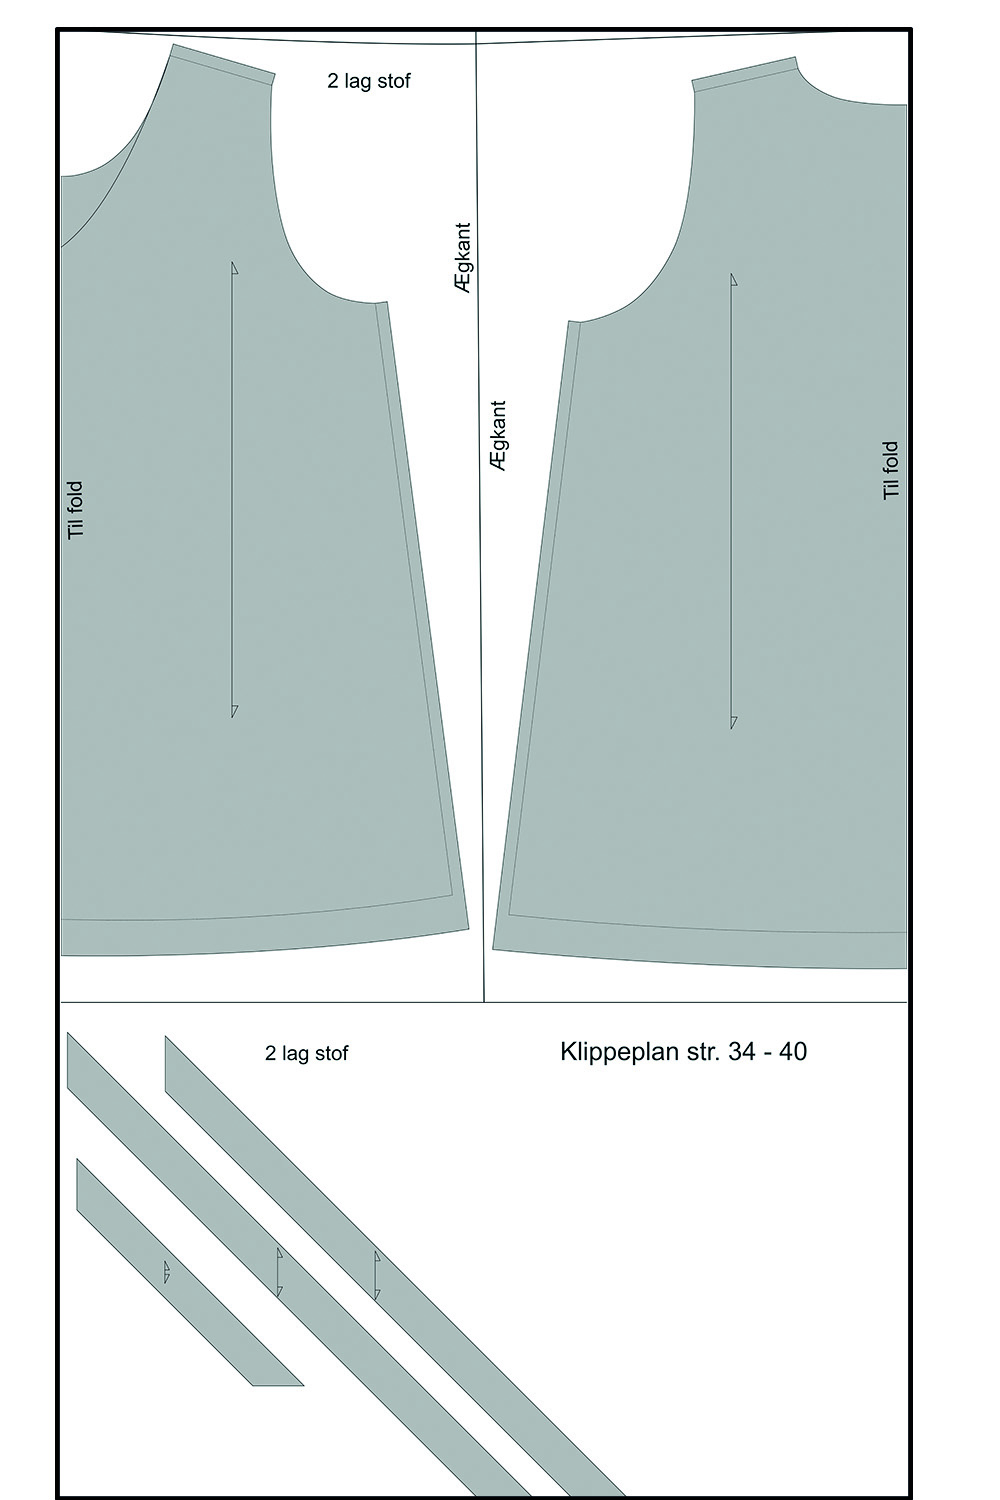
Sewing tip for bias tape:
When sewing with heavier fabrics, it is a good idea to cut the bias tape 5 cm wide. It makes the sewing process easier.
Cutting plan sizes 42-56
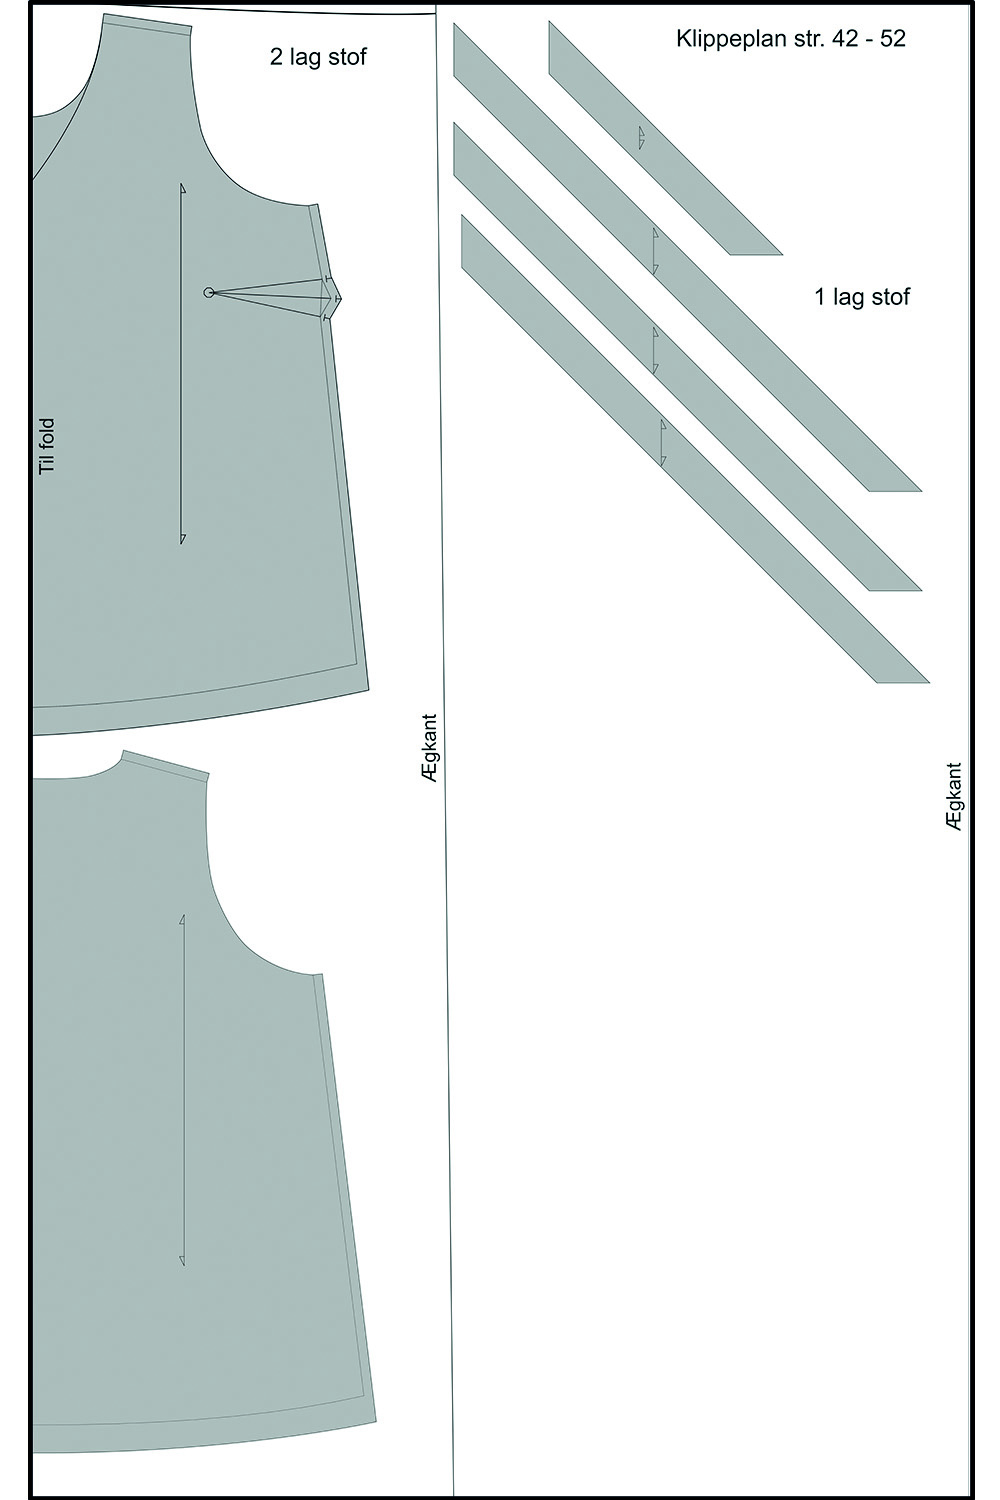
4. Sew the bust darts. From size 42, the top has bust darts.
5. Neck slit detail
6. Sew the shoulder seam
7. Sew the side seam
Adjust the fit before topstitching the bust darts and side seams.
8. Sew bias tape into the armhole.
9. Button loop for the slit detail
Try on the top and adjust the neckline before attaching the bias tape.
10A. Bias tape on the round neckline
10B. Bias tape on V-neckline
11A. Hem with 3 cm wide elastic Casing.
11B. Hemming of the top.