Access to Your Video Sewing Tutorial
You need a password to access your video sewing tutorial.
Your password is printed on the pattern and is unique to you.
If you have any questions, you are always welcome to contact us at sewing@karto.dk
Check the length before cutting
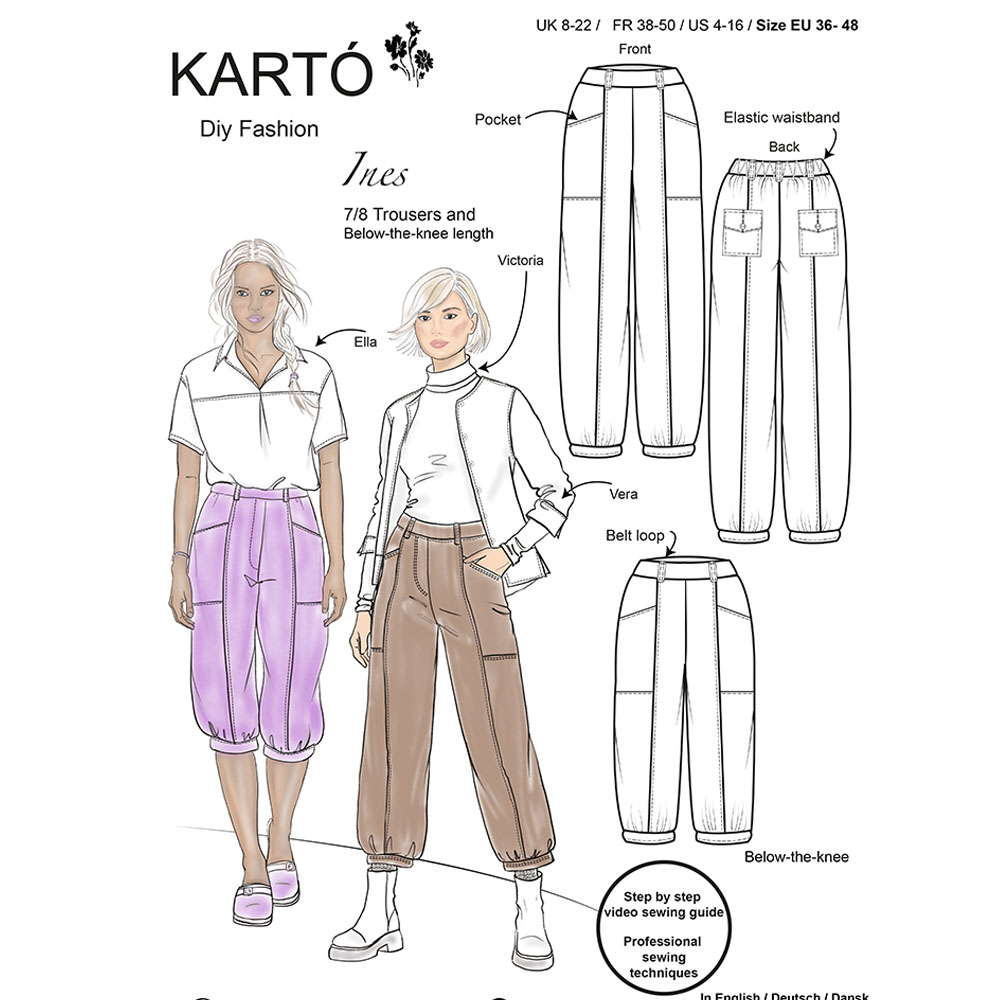
Before cutting your fabric, we recommend checking which trouser length you want to sew. The Ines pattern is drafted with extra length—even though it’s a 7/8 style—so there is enough length for different heights and preferences. Hold the pattern pieces up to your body (or compare them with a pair of trousers you like the length of) and shorten to your preferred length before cutting the fabric.
1. What you need for the trousers.

You will need for the Ines trousers
-
2 buttons 12 mm
-
1.5m fusible tape with reinforcement threads, 3 cm wide
-
3 cm wide elastic band
How to press the interfacing tape:
Place the tape on the wrong side of the outer fabric with the adhesive side facing down. Cover with a damp cloth and press with the iron for about 12 seconds – without sliding. You can also use the steam function.
2. Your pattern includes a 1 cm seam allowance.
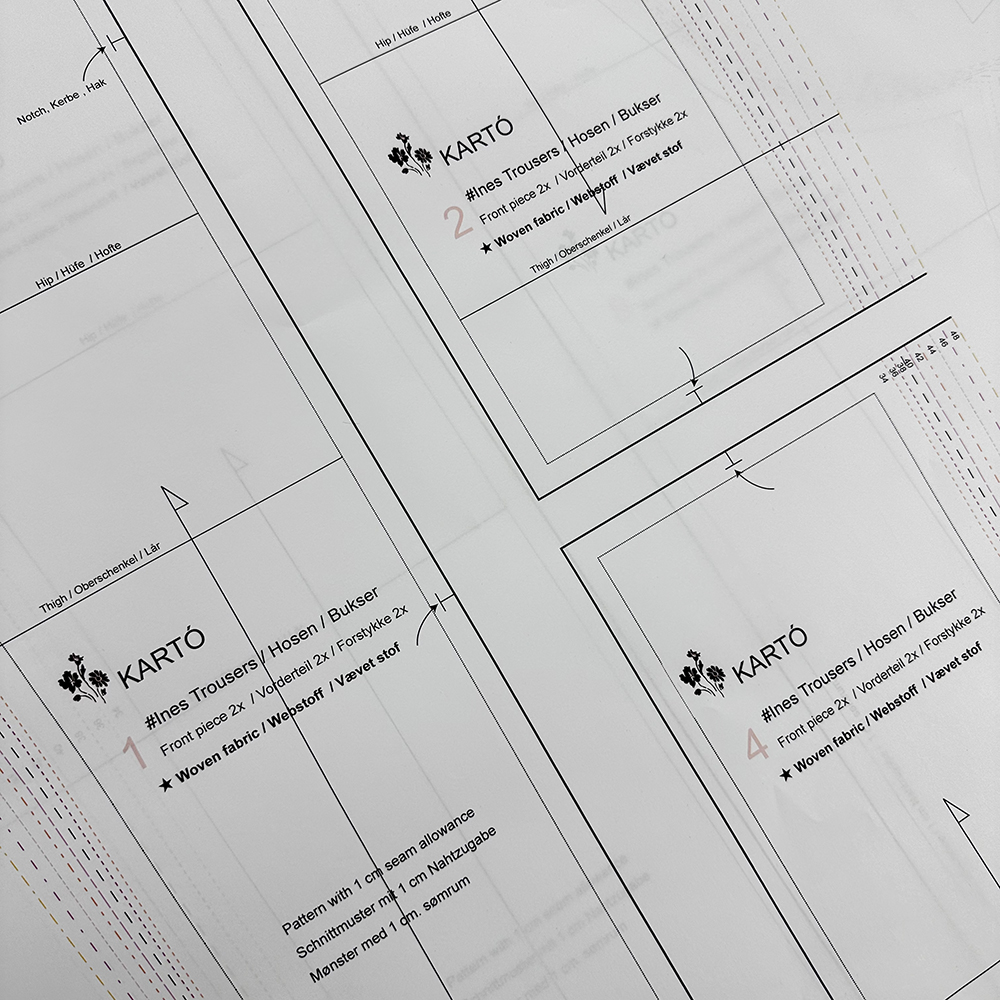
Seam allowance.
Your pattern includes 1 cm seam allowance
Grainline.
The grainline is important. The arrow on the pattern piece must always be parallel to the selvage to ensure correct placement on the fabric.
Notches.
Remember to cut the small notches according to the markings on the pattern pieces.
Stitch length.
Sew the blouse together with a stitch length of 2.5 (9 stitches per 2 cm).
For topstitching, use a stitch length of 3.
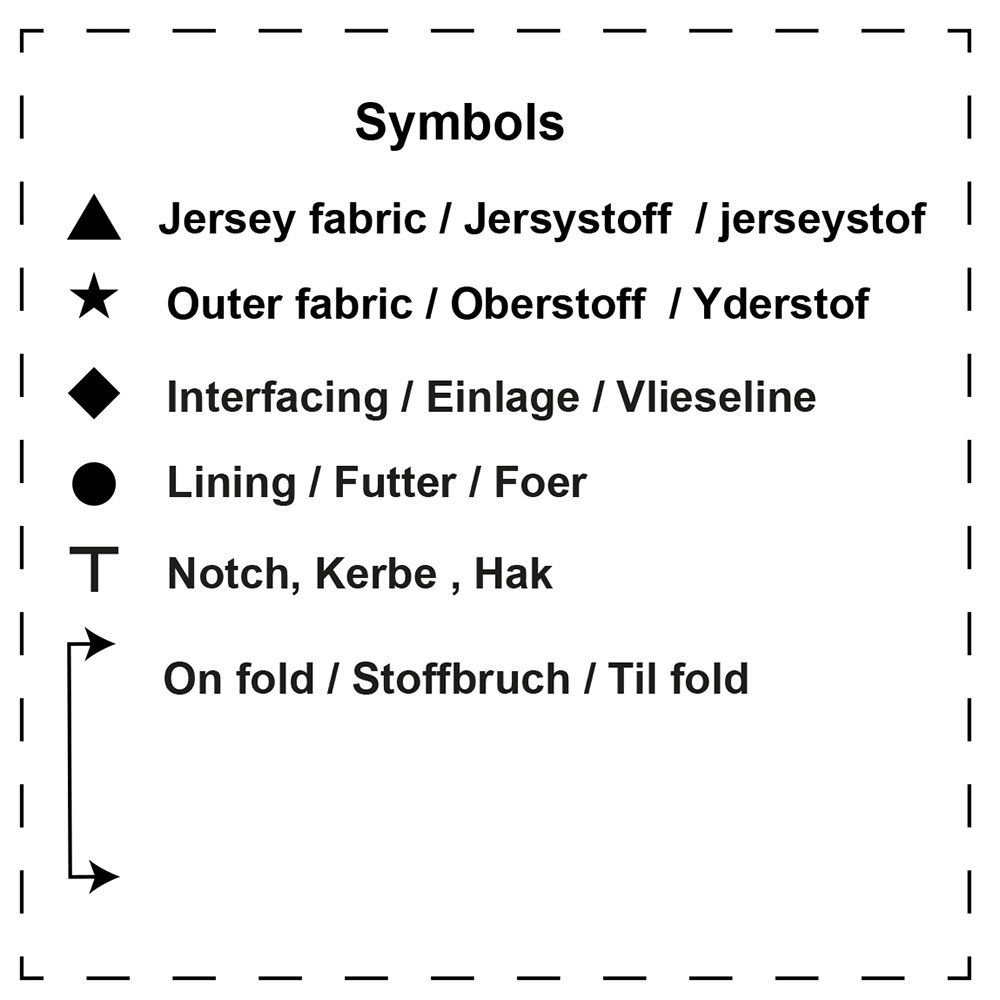
Explanation of symbols in the pattern
In this pattern, different symbols are used to clearly indicate which pieces should be cut in fabric, lining, and interfacing.
There is also a symbol showing which pattern pieces should be placed on the fold of the fabric, as well as notches that help you align the pieces correctly.
Follow the symbols carefully for the best result.
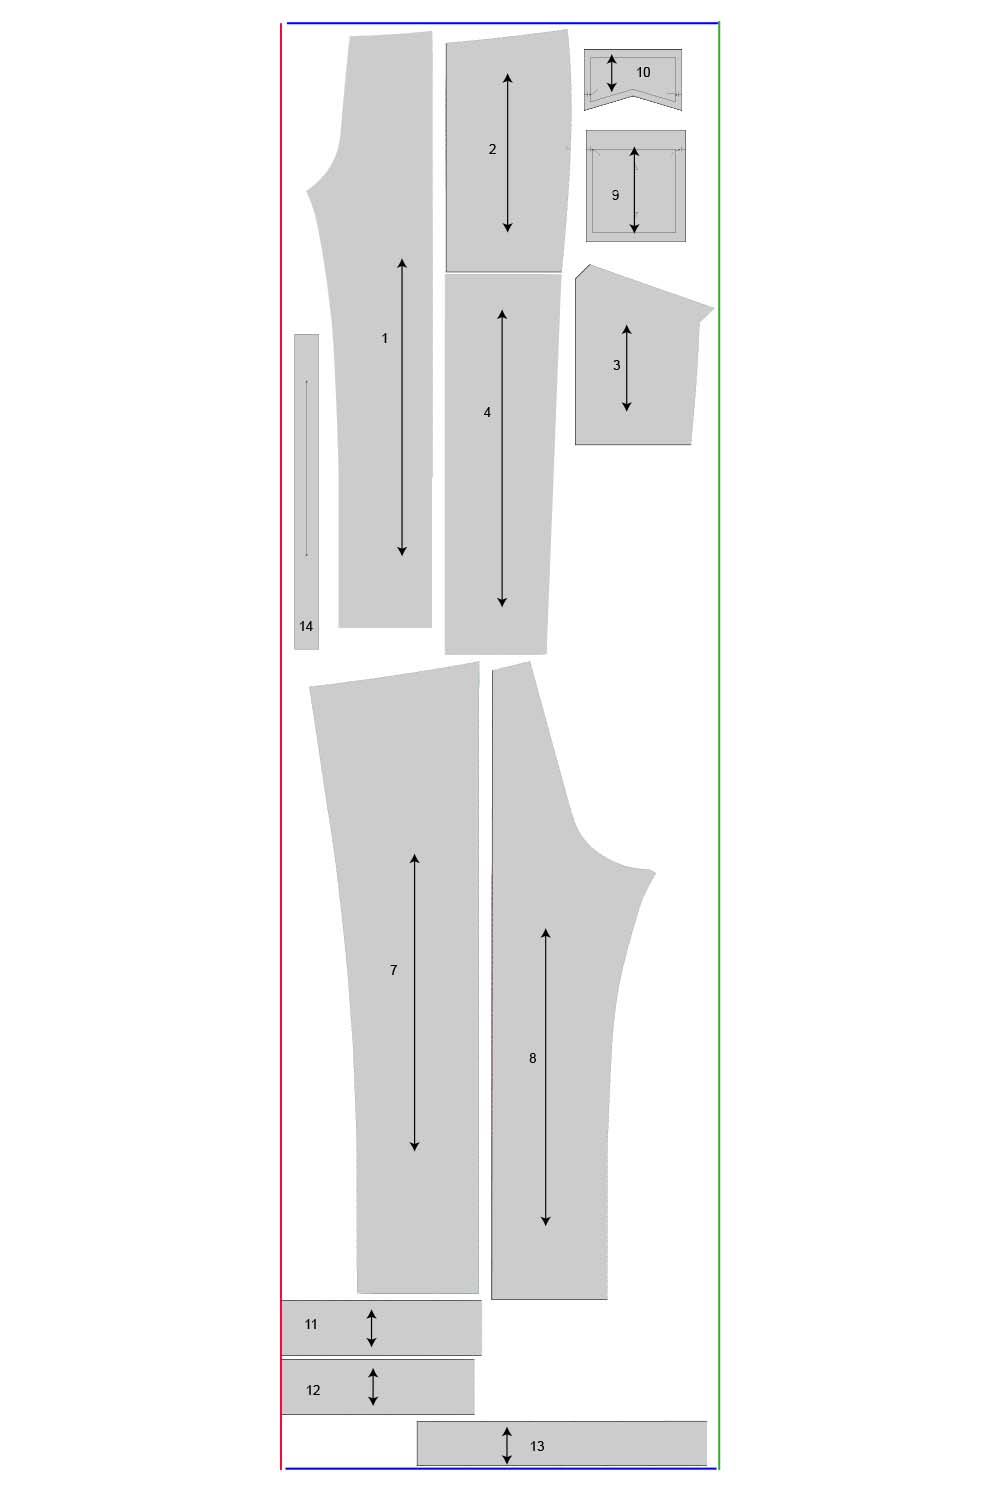
3. Cutting layout
- Front piece 2x
- Front piece 2x
- Front piece 2x
- Front piece 2x
- Back piece 2x
- Back piece 2x
- Back pocket 2x
- Pocket flap 2x
- Front waistband 1x
- Back waistband 1x
- Binding 2x
- Belt loops 2x
Red line = Fold line
Green line = selvegde
Blue line = egde
That’s why we sew topstitching…
Topstitching has both a practical and a visual function.
It keeps the seam allowance in place and gives a neat, professional finish.
At the same time, it helps shape the design expression – you can choose thread colour and placement depending on the look you want. Sew close to the edge for a discreet finish or with a little distance for a more striking effect.
4. Sew the pockets onto the front piece
5. Sew the front pieces together
6. Sew the back pieces
7. Sew the back pockets
8. Sew the back pocket onto the back piece
Back pocket placement
I placed the back pocket approx. 10 cm below the waist edge in size 38. Use this as a guideline and adjust the placement so it suits the size you are sewing. The back pocket can be placed wherever you prefer – it’s a design detail you can adjust.
9. Sew the pocket flap
10. Sew the pocket flap onto the back piece
11. Sew the side seams
12. Sew the inside leg seams
13. Sew the crotch seam
14. Sew the belt loops
15. Attach the belt loops
16. Sew the waistband
17. Sew the binding
Choose your preferred trouser length before sewing on the hem band as the finish. Try the trousers on to find the perfect length.