Access to Your Video Sewing Tutorial
You need a password to access your video sewing tutorial.
Your password is printed on the pattern piece for the back and is unique to you.
If you have any questions, you are always welcome to contact us at sewing@karto.dk
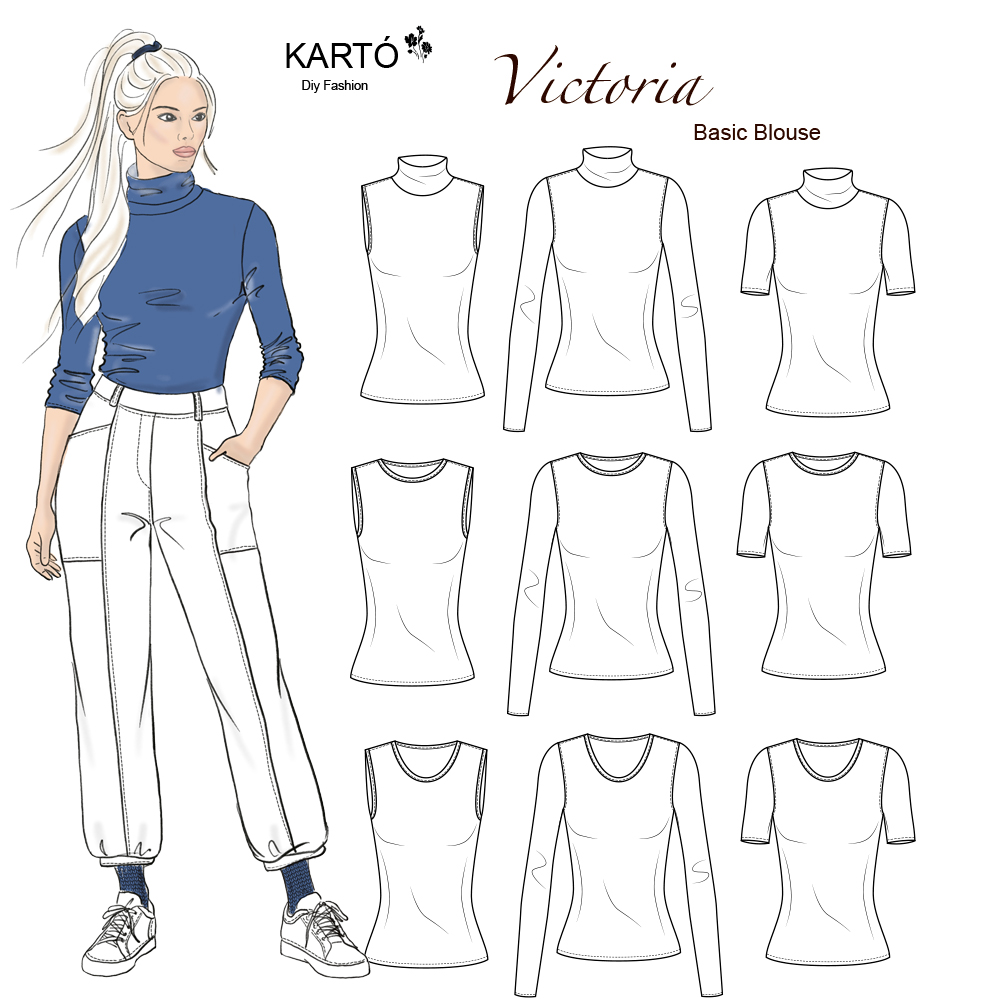
1. What you need for the blouse.
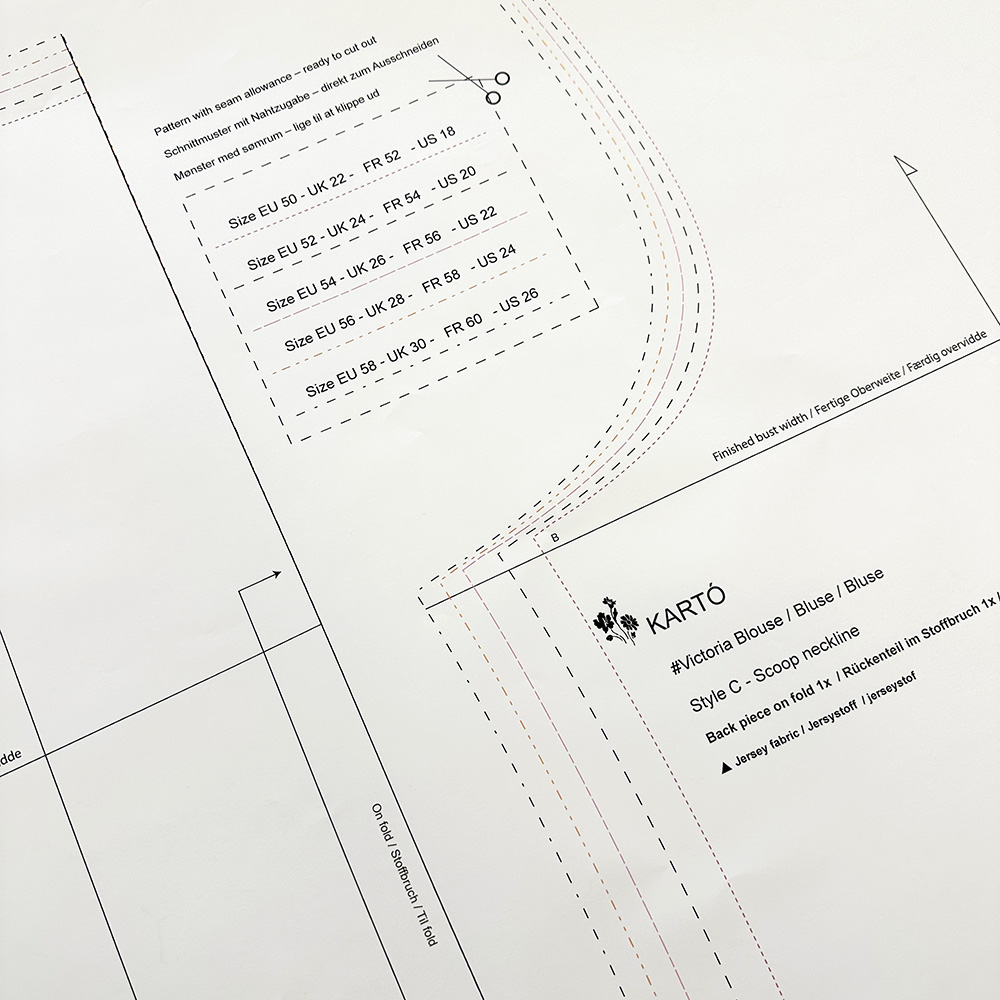
2. Your pattern includes a 1 cm seam allowance.
Seam allowance
Your pattern includes a 1 cm seam allowance.
3 cm hem allowance.
There is no seam allowance at the neckline on model B and C, as these versions are finished with a neckband.
Grainline
The grainline is important.
The arrow on each pattern piece must always be placed parallel to the fabric’s selvage to ensure correct placement on the fabric.
Notches / Markings
Remember to cut the small notches indicated on the pattern pieces.
These markings help ensure that the pieces fit together correctly during sewing.
Stitch length
Use a stitch length of approx. 3.5 for topstitching on stretch fabrics.
Short stitches may cause an uneven result when sewing jersey.
Symbols
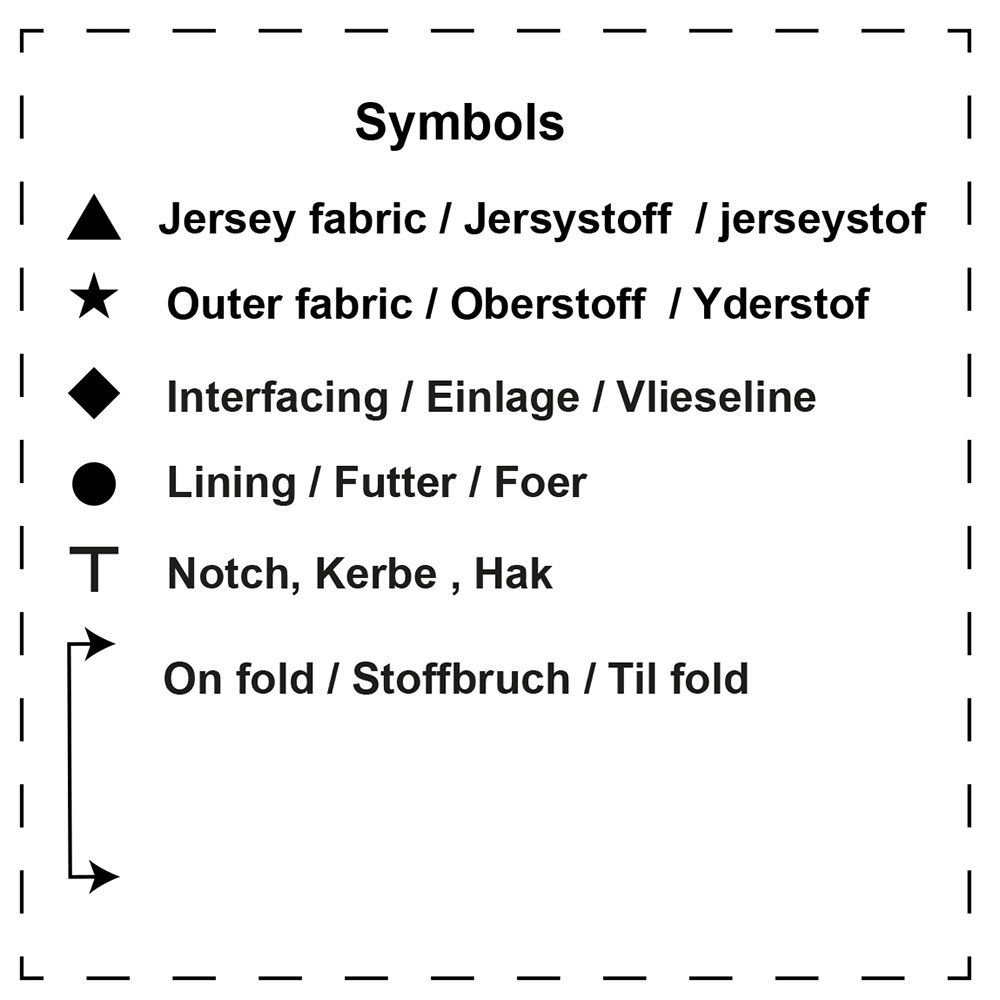
Explanation of symbols in the pattern
In this pattern, different symbols are used to clearly indicate which pieces should be cut in fabric, lining, and interfacing.
There is also a symbol showing which pattern pieces should be placed on the fold of the fabric, as well as notches that help you align the pieces correctly.
Follow the symbols carefully for the best result.
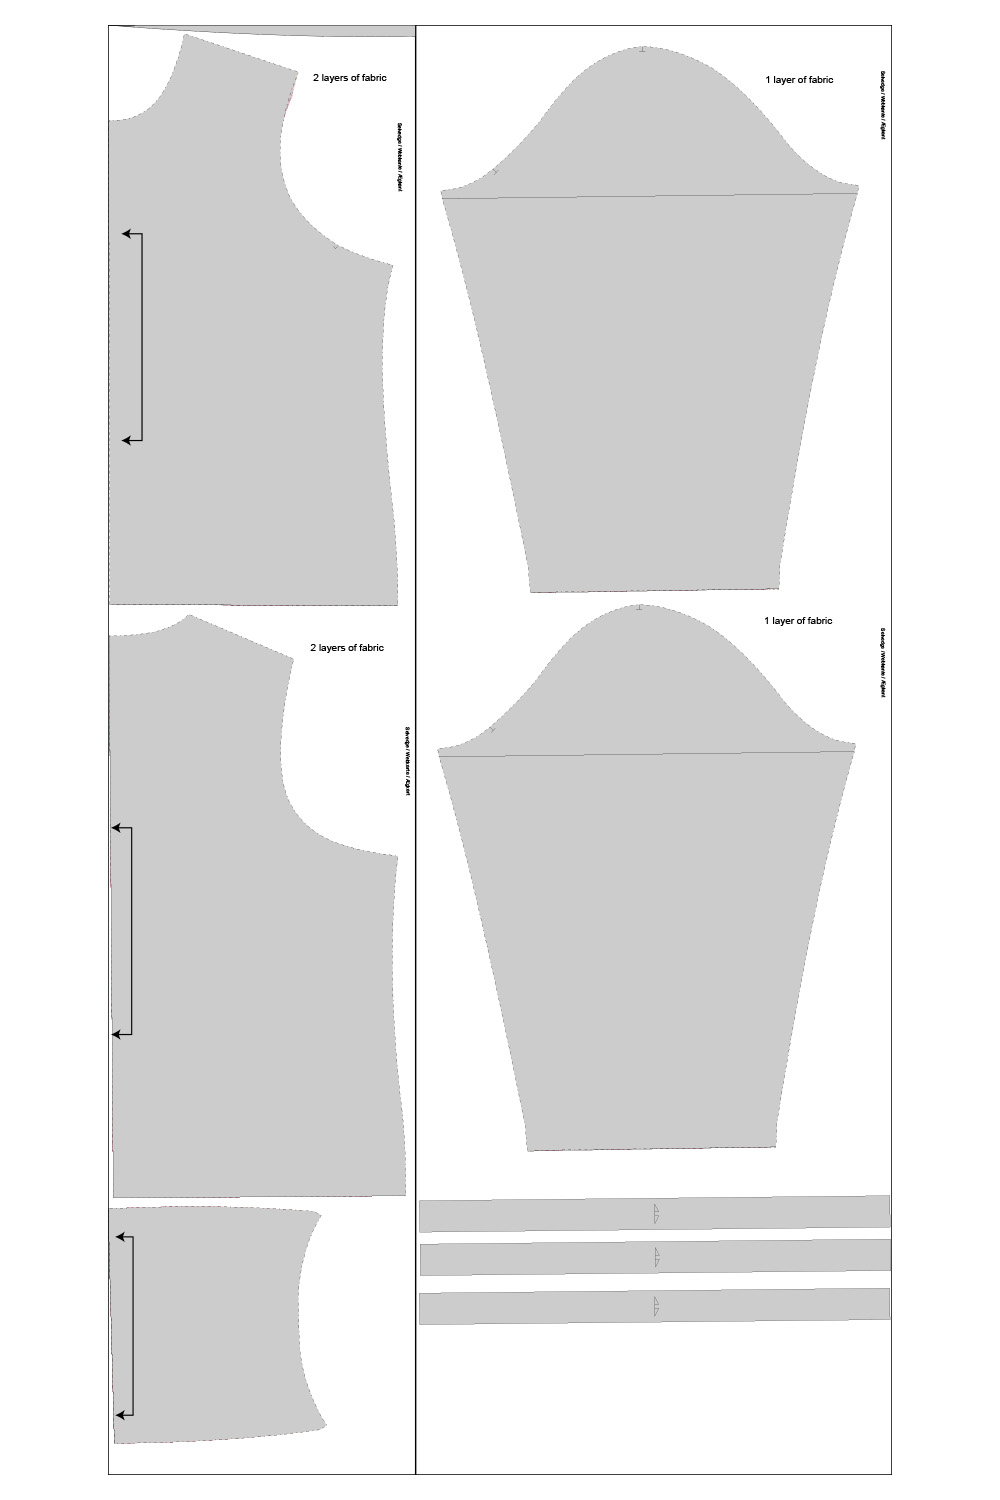
3. Cutting layout
Front piece on fold 1x
Back piece on fold 1x
Sleeve 2x
Armhole binding 2x on fold
Neck binding 1x on fold
Collar on fold 1x
UK 8 -20 / FR 38 - 50 / US 4 - 16 /
Size EU 36 - 48
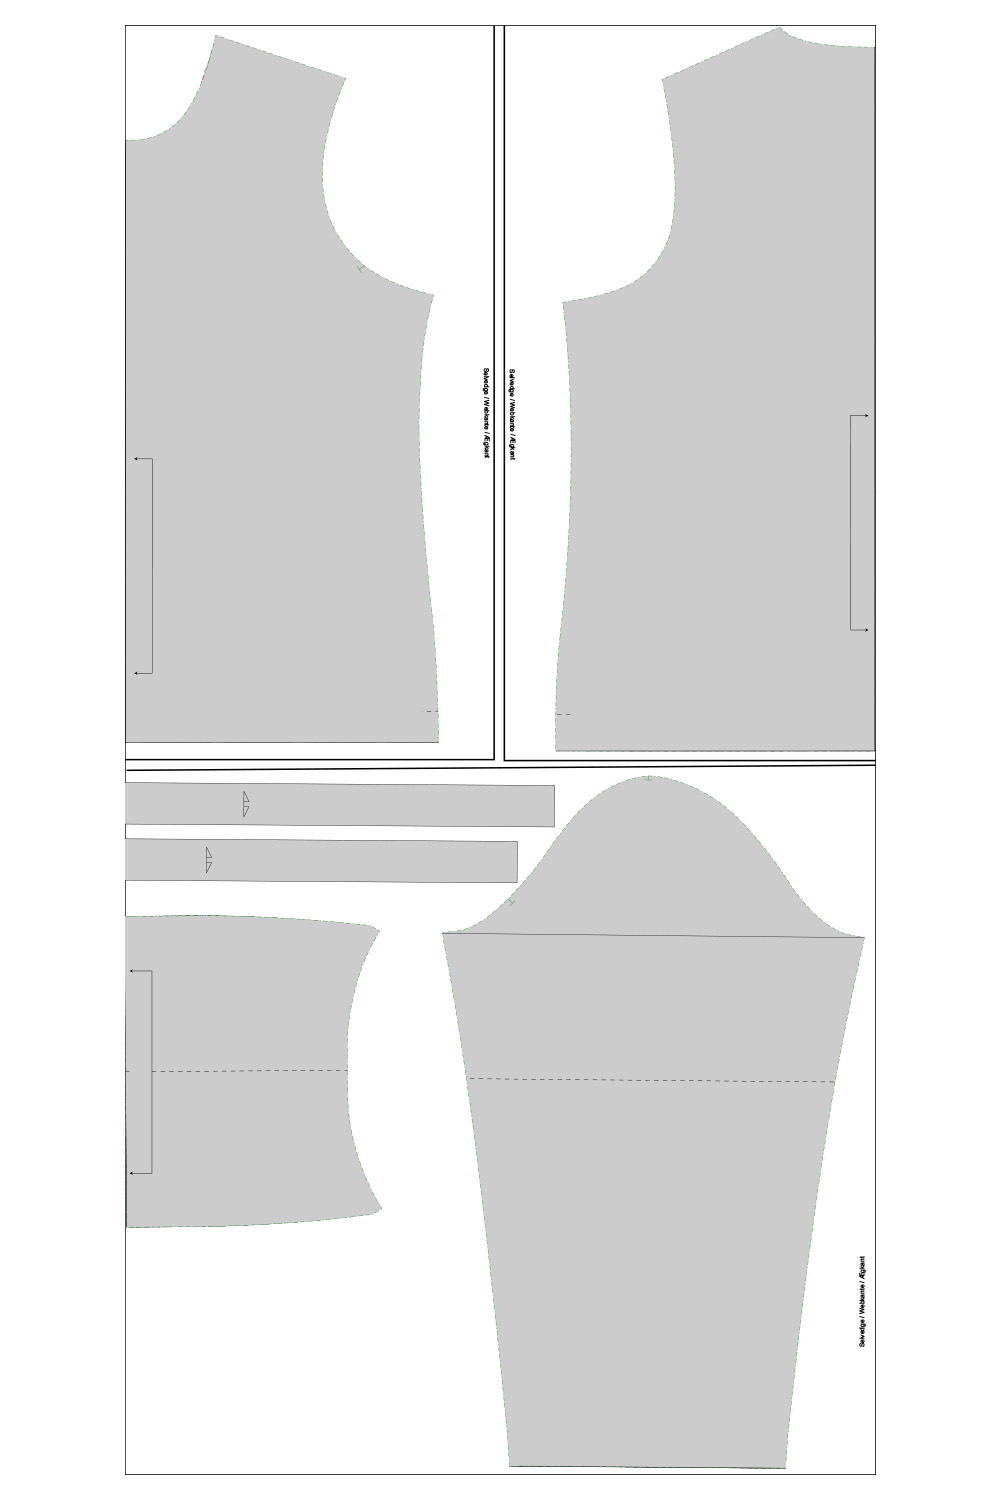
UK 22 -30 / FR 52 - 60 / US 18 - 26 /
Size EU 50 - 58
That’s why we sew topstitching…
Topstitching has both a practical and a visual function.
It keeps the seam allowance in place and gives a neat, professional finish.
At the same time, it helps shape the design expression – you can choose thread colour and placement depending on the look you want. Sew close to the edge for a discreet finish or with a little distance for a more striking effect.
4. Sew the shoulder seam
5. Sew the sleeves
6. Sew the side seams on the blouse with sleeves.
6. Sew the side seams on the sleeveless blouse.
7. Sew the hem
8. Neckline binding
9. Sew the turtleneck collar
10. Armhole binding – for the sleeveless blouse